Instrukcja obsługi CyberData Systems SIP-enabled VoIP V3
CyberData Systems
Interkom
SIP-enabled VoIP V3
Przeczytaj poniżej 📖 instrukcję obsługi w języku polskim dla CyberData Systems SIP-enabled VoIP V3 (4 stron) w kategorii Interkom. Ta instrukcja była pomocna dla 13 osób i została oceniona przez 2 użytkowników na średnio 4.5 gwiazdek
Strona 1/4
Quick Start Guide 930503A
1.0 Out-of-Box and Prior to Final Installation
1.1. Verify that you have received all of the parts listed on the Installation Quick
Reference placemat.
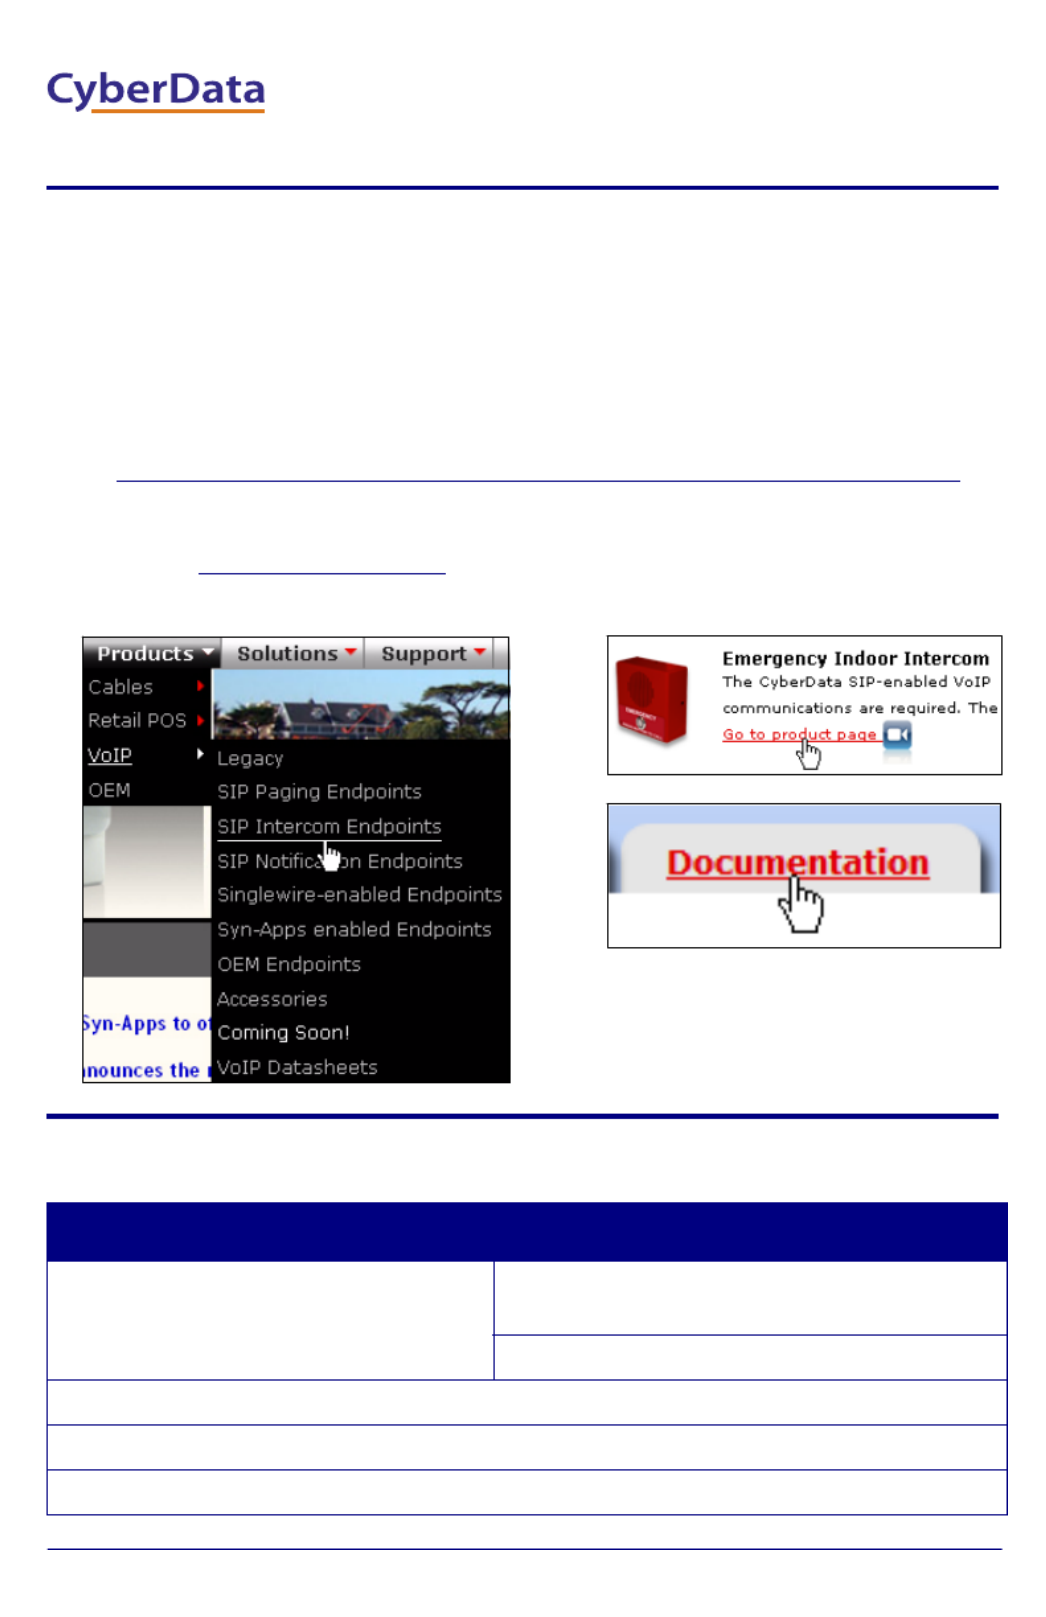
1.2. Download the current manual, otherwise known as an Operation Guide,
which is available on the Documentation page at the following website
address:
http://www.cyberdata.net/products/voip/digitalanalog/intercomemergency/docs.html
Note You can also navigate to the Documentation page by going to
www.CyberData.net and following the steps that are indicated by
the following figures:
2.0 Select Power Source
PoE Switch PoE Injector
Set PoE power type to Class 0 = 13W CAT6 cable recommended—
for longer distances
Be sure you are using a non-PoE switch or port
Make sure port is not in trunk mode
Set port to full duplex/ 100mbps
Spanning Tree Protocol (STP) must be disabled or Portfast enabled
2
3
1
VoIP Emergency Intercom
Quick Start Guide
The IP Endpoint Company
Quick Start Guide 930503A
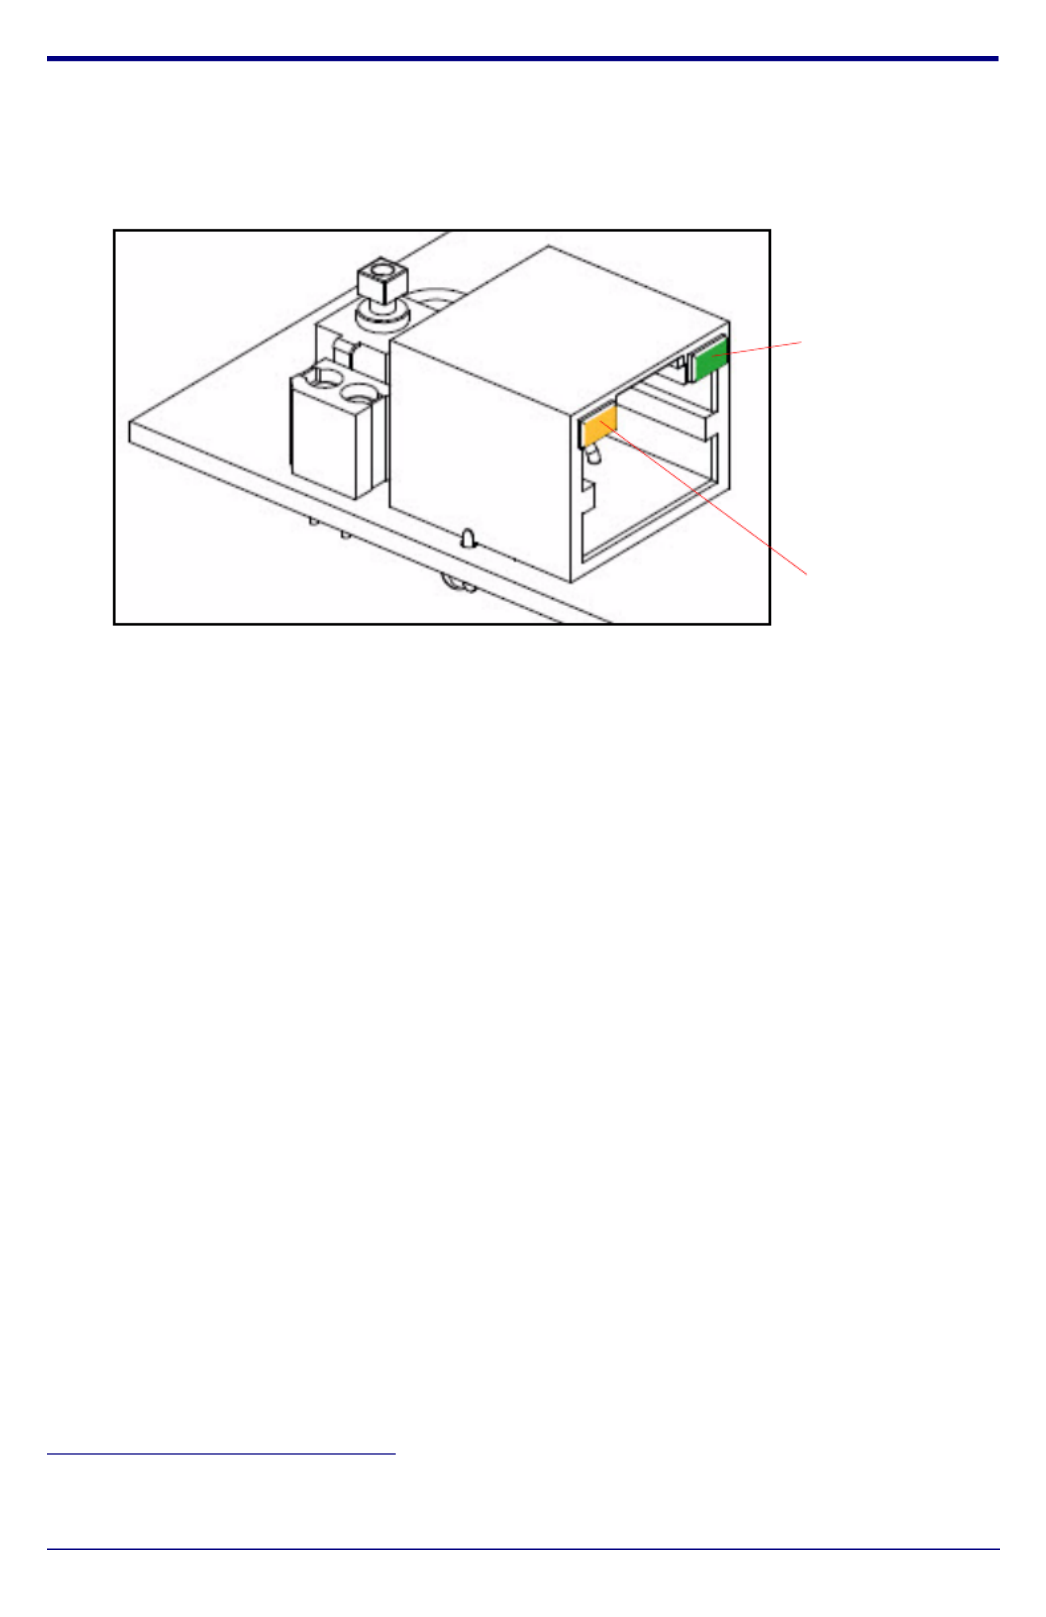
3.0 Power Test
3.1. Plug in the CyberData device and monitor the LED activity above the
ethernet port on the back of the Intercom. See the following figure:
3.2. The GREEN Link LED blinks off once during the boot up process and then
comes on again and remains constant (solid GREEN). The YELLOW
Activity LED may be blinking depending on the network activity.
During the initialization process, the GREEN Call Button LED should come
on and be constant (solid GREEN). After the Intercom has completed
booting, the LED will blink twice and then remain constant thereafter.
Normally, this process will take about 30 seconds. However, if no DHCP1 is
available, then this process could take up to 2 minutes.
3.3. When the Intercom has completed the initialization process, press and hold
the RTFM switch (SW1 button) for 3 seconds to announce the IP address.
This concludes the power test. Go to Section 4.0, "Connecting to a Network
in a Test Environment".
1. This only applies to firmware versions 6.x.x and later. For versions 5.1.2 and
earlier, the default static IP address is 10.10.10.10.
Link LED
Activity LED

Quick Start Guide 930503A
4.0 Connecting to a Network in a Test Environment
Note The following connections are usually needed for this procedure:
• PC
• PoE switch or injector
• CyberData device
4.1. In a test environment, use a PC that is connected to the same switch as a
single CyberData device. Note the subnet of the test PC.
4.2. Use the CyberData Discovery Utility program to locate the device on the
network. You can download the Discovery Utility program from the
following website address:
http://www.cyberdata.net/support/voip/discovery_utility.html
4.3. Wait for initialization to complete before using the Discovery Utility
program to scan for a device. The device will show the current IP address,
MAC address, and serial number.
4.4. Select the device.
Note If the IP address of the device is in the same subnet of the PC, then
go to Step 4.7.
4.5. If the IP address of the device is different from the subnet of the PC, then
complete the following steps:
4.5.1. Click the Details tab.
4.5.2. Click Adv. Config to manually configure settings with an available IP
address in the same subnet.
Note A gateway address of 0.0.0.0 or a subnet address of
255.255.255.255 will prompt you to enter a valid address.
4.5.3. Click OK after you are finished making changes.
4.6. A dialog box will prompt you to click OK after confirming the configuration
changes and will ask you to wait while the device reboots. Please wait for
the device to power up and wait for the Discovery Utility program to find
the device on the network.
Specyfikacje produktu
| Marka: | CyberData Systems |
| Kategoria: | Interkom |
| Model: | SIP-enabled VoIP V3 |
Potrzebujesz pomocy?
Jeśli potrzebujesz pomocy z CyberData Systems SIP-enabled VoIP V3, zadaj pytanie poniżej, a inni użytkownicy Ci odpowiedzą
Instrukcje Interkom CyberData Systems

2 Października 2024
2 Października 2024
2 Października 2024
2 Października 2024
2 Października 2024
Instrukcje Interkom
- Interkom Philips
- Interkom SilverCrest
- Interkom Hikvision
- Interkom Panasonic
- Interkom Alcatel
- Interkom BTicino
- Interkom Swann
- Interkom Viking
- Interkom ORNO
- Interkom Chamberlain
- Interkom Vimar
- Interkom Dahua Technology
- Interkom Emos
- Interkom Rollei
- Interkom Somfy
- Interkom DiO
- Interkom DataVideo
- Interkom Midland
- Interkom EtiamPro
- Interkom Planet
- Interkom Axis
- Interkom Abus
- Interkom Elro
- Interkom Marmitek
- Interkom Schwaiger
- Interkom ZKTeco
- Interkom Akuvox
- Interkom Busch-Jaeger
- Interkom Fibaro
- Interkom Hanwha
- Interkom Alecto
- Interkom Avidsen
- Interkom Foscam
- Interkom TOA
- Interkom Byron
- Interkom Monacor
- Interkom M-e
- Interkom Becken
- Interkom Smartwares
- Interkom Sygonix
- Interkom WHD
- Interkom Extel
- Interkom Acti
- Interkom Steren
- Interkom Siedle
- Interkom Valcom
- Interkom Chacon
- Interkom Konig
- Interkom DoorBird
- Interkom Gira
- Interkom HQ
- Interkom Russound
- Interkom Comelit
- Interkom Aiphone
- Interkom RTS
- Interkom Estom
- Interkom Nortek
- Interkom Bitron
- Interkom Hollyland
- Interkom Leviton
- Interkom Pentatech
- Interkom Ritto
- Interkom Syscom
- Interkom Elcom
- Interkom Pentatron
- Interkom COMMAX
- Interkom Bintec-elmeg
- Interkom Eartec
- Interkom Gewiss
- Interkom Seco-Larm
- Interkom GEV
- Interkom Mobotix
- Interkom FlyingVoice
- Interkom Vibell
- Interkom Toucan
- Interkom 2N Telecommunications
- Interkom Louroe Electronics
Najnowsze instrukcje dla Interkom
28 Marca 2025

27 Marca 2025
27 Marca 2025
27 Marca 2025
27 Marca 2025
10 Marca 2025
2 Marca 2025
20 Lutego 2025
20 Lutego 2025
20 Lutego 2025