Instrukcja obsługi Konig HAV-TT25USB
Konig
Sprzęt DJ-ski
HAV-TT25USB
Przeczytaj poniżej 📖 instrukcję obsługi w języku polskim dla Konig HAV-TT25USB (30 stron) w kategorii Sprzęt DJ-ski. Ta instrukcja była pomocna dla 6 osób i została oceniona przez 2 użytkowników na średnio 4.5 gwiazdek
Strona 1/30
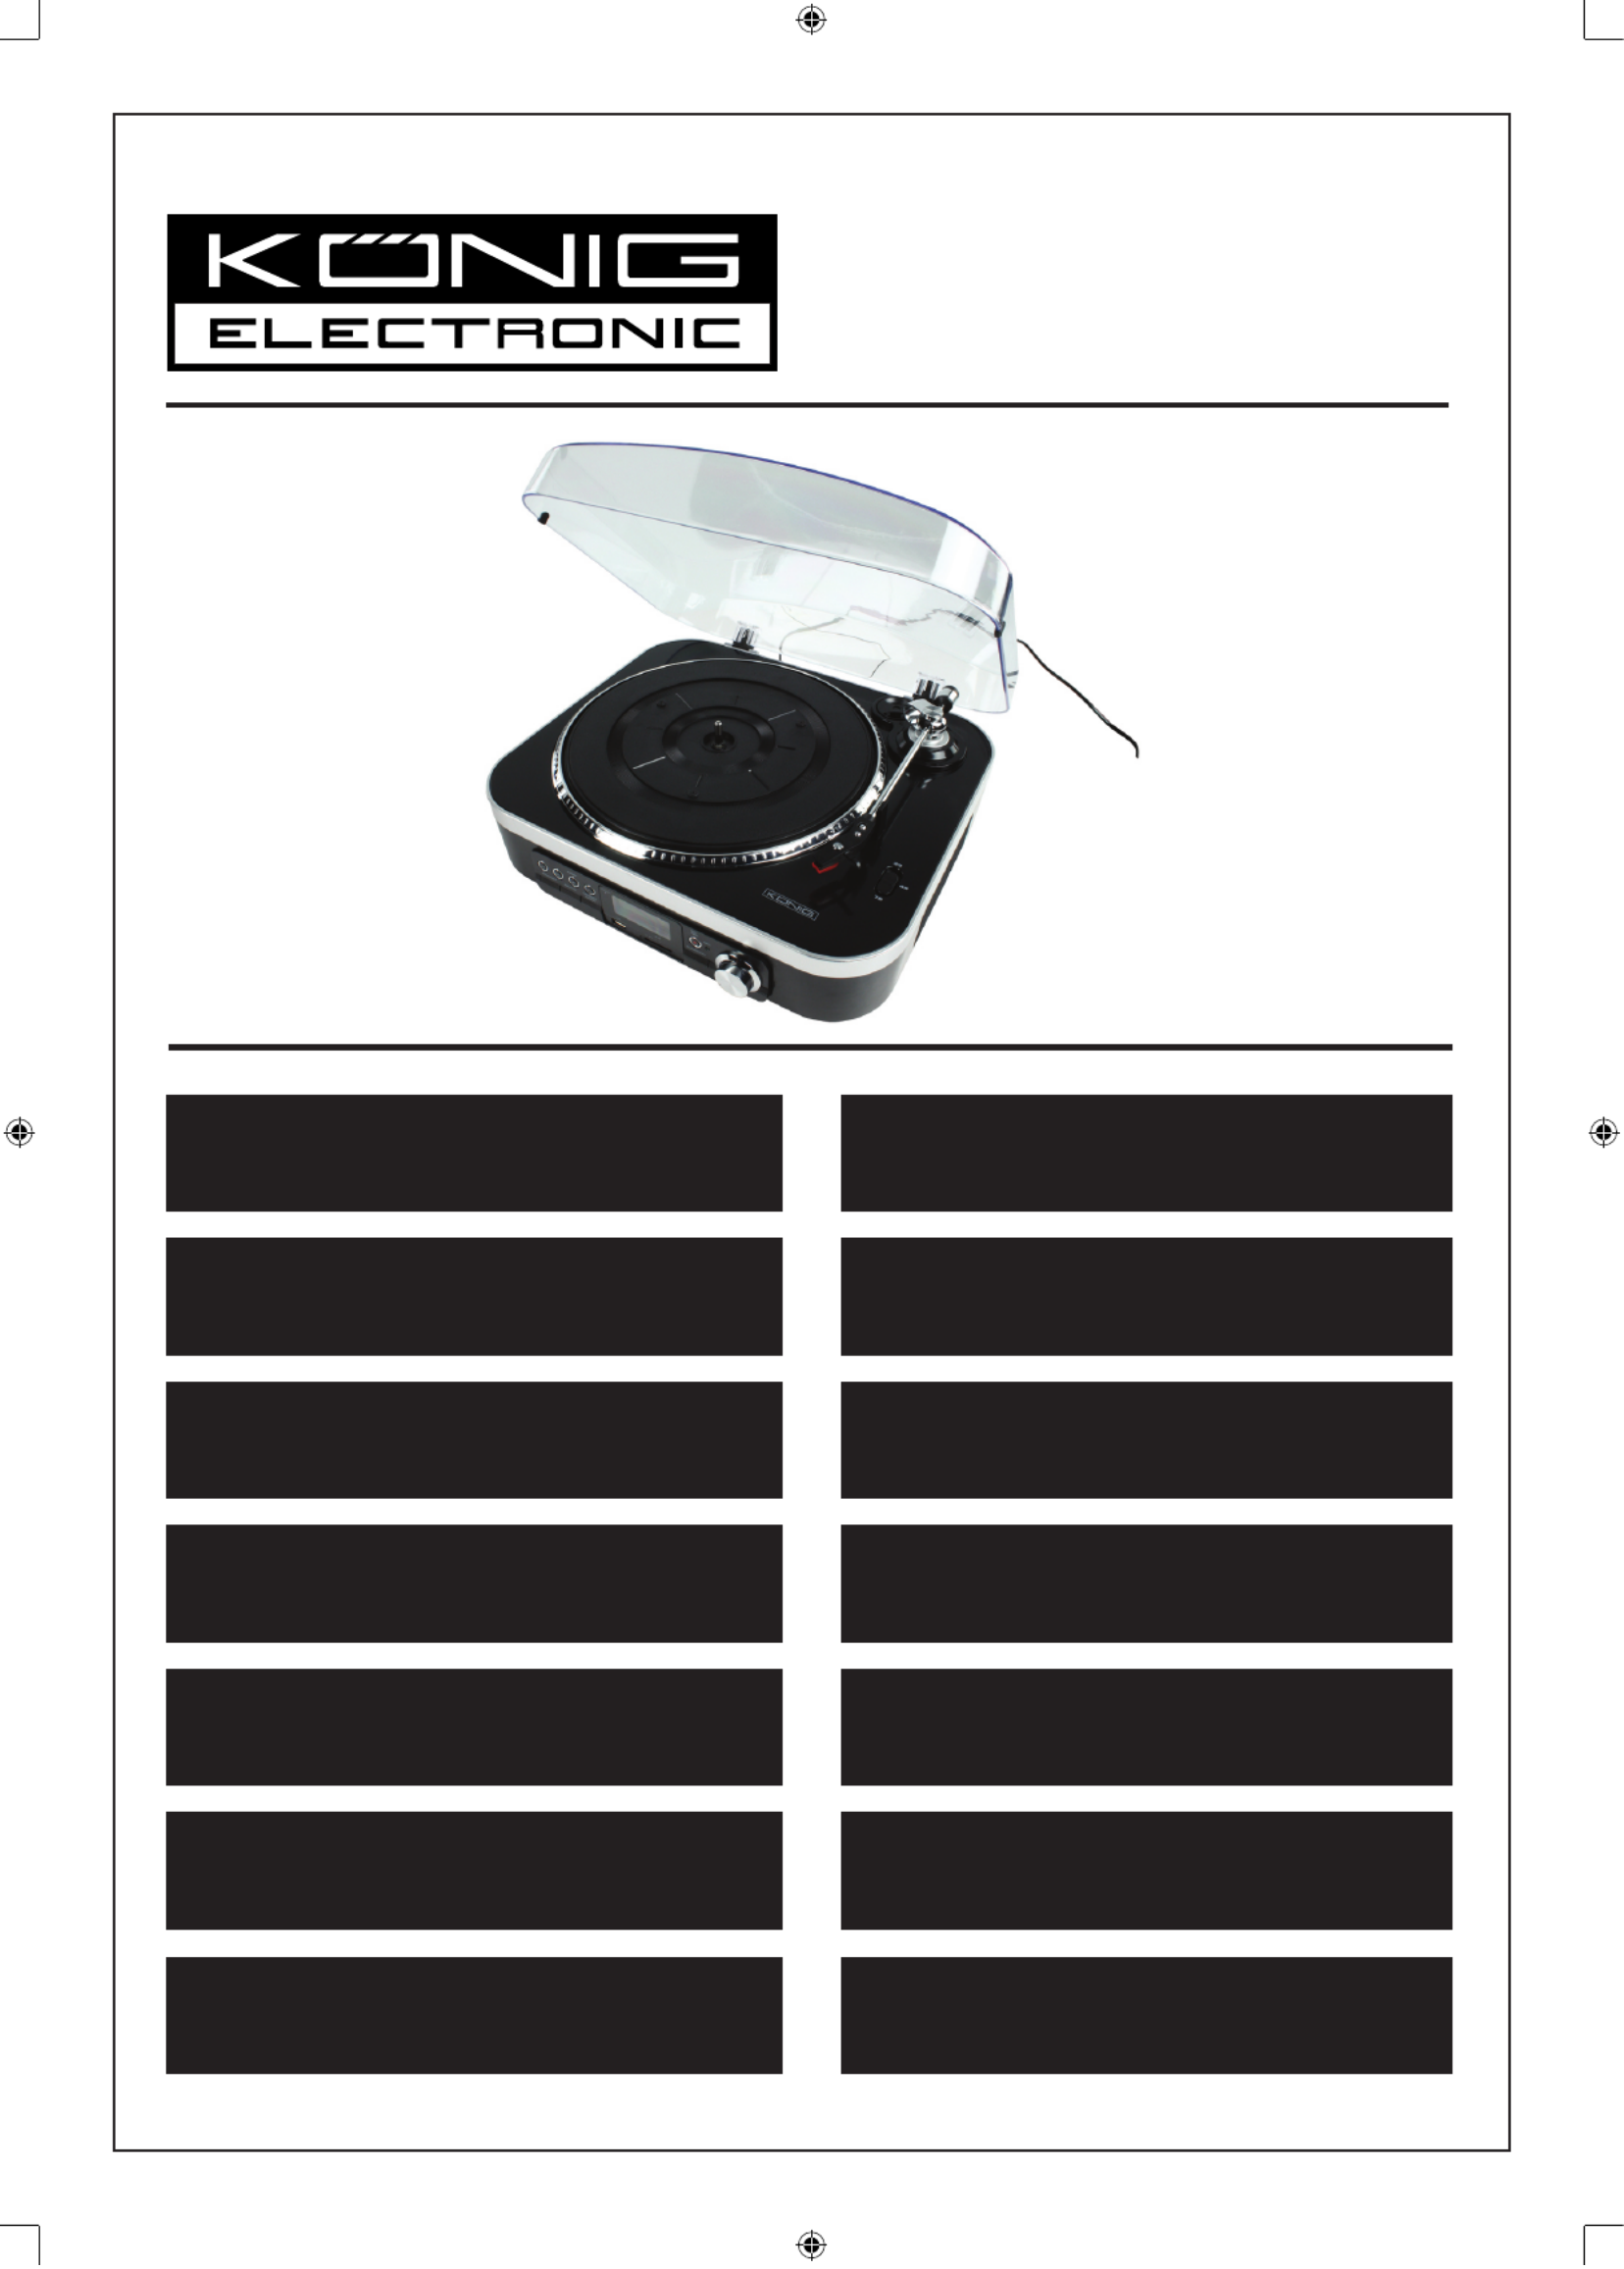
HAV-TT25USB
MANUAL (p. 2)
USB Turntable
MODE D’EMPLOI (p. 6)
Tourne-disque USB
MANUALE (p. 10)
Giradischi USB
BRUKSANVISNING (s. 18)
USB-skivspelare
MANUAL DE UTILIZARE (p. 22)
Platan USB
BRUGERVEJLEDNING (p. 26)
USB Drejeskive
HASZNÁLATI ÚTMUTATÓ (o. 14.)
USB lemezjátszó
KÄYTTÖOHJE (s. 16)
USB-levysoitin
ANLEITUNG (s. 4)
USB-Plattenspieler
GEBRUIKSAANWIJZING (p. 8)
USB Draaitafel
MANUAL DE USO (p. 12)
Tocadiscos USB
NÁVOD K POUŽITÍ (s. 20)
USB gramofon
ΕΓΧΕΙΡΙΔΙΟ XPHΣHΣ (σελ. 24)
Περιστροφική USB
VEILEDNING (p. 28)
USB platespiller

2
ENGLISH
Quick installation Guide HAV-TT25USB
1. Before use
1. Remove and dispose of all packaging.
2. Position the turntable on a flat surface. Be sure to avoid exposure to direct sunlight or heat sources,
locations subject to vibration, excessive dust, or moisture. Keep the device away from transformers,
motors and other sources that can produce vibrations.
3. Never open the cabinet of the turntable. This can result in damage to the circuitry or electric shock.
4. Do not handle records with dirty fingers and never place a record with a crack on the turntable.
5. When removing the power plug from the socket, pull the plug, not the cord.
6. Do not clean with chemical solvents, use a dry cloth.
7. To shut off the power completely, unplug the power cord from the wall outlet.
8. Keep this installation guide and the cd with the full manual for future reference.
2. First use
1. Connect the AC power cord to a socket and press the standby unit to turn it on.
2. Press and hold the MEMORY/MODE button and select between 12 or 24 hour mode using the ’ and
” buttons. Confirm with the MEMORY/MODE button.
3. Set the time using the ’ and ” buttons to set the hour and minutes. Press the MEMORY/MODE
button to confirm.
4. Connect an RCA cable from the line out of the turntable to the input of your amplifier.
3. Listening to a record
Select the correct speed using the switch on the right side of the turntable and remove the stylus protector.
Place a record on the turntable and press the function button until the display says PHONO. Lift the tone arm
from the rest and place it gently on the record, adjust the volume using the volume knob.
4. Listening to the radio
Press the FUNCTION button until TUNER appears in the display. Press the STOP/BAND button to select
FM or AM and use the ’ and ” buttons to tune in to the desired station. Hold and release the ’ or ”
button to use the auto search function, or briey press the buttons to search manually. To store a station
press and hold the MEMORY/MODE button until 01 ashes in the display, select the desired preset position
using the ’ and ” buttons and press MEMORY/MODE to save the station. If you want to listen to a
saved radio station press the (]I) while in TUNER mode until the desired station is selected.
5. Play music from USB/SD
First insert the USB stick/SD card into the appropriate slot. Press the FUNCTION button until the display
shows USB or SD. If the device is not recognized the display will read “NO USB/SD”. Use the (]I) to start
and pause and stop playback. Press ’ once to go to the next track, press ” once to go the beginning of
the current track or press twice to go to the previous track.
6. Record to USB/SD
To record a vinyl to a USB stick or SD card insert the storage device into the appropriate slot. Press the
FUNCTION button repeatedly to select PHONO. Set the desired recording bit rate by holding the BIT/REC
button to enter the menu and then click ’ or ” repeatedly until the desired bit rate is displayed. Click
the BIT/REC to conrm the setting. Briey press the BIT/REC button to start recording. Press STOP to stop
recording.
3
7. Record using Audacity software
1. Connect the turntable to your pc via the supplied USB cable.
2. Install the Audacity software and follow the steps shown on the screen.
3. Open the Audacity software by double clinking it’s icon.
4. Click “edit” and select “preferences”.
5. Select the recording device under the Audio I/O table: “Microphone (USB Audio CODEC)”.
Select 2 channels “stereo” and tick the checkboxes below “Channels”.
6. Adjust the output and input volume.
7. Place a record on the turntable and start playback.
8. Click the RECORD button to start recording.
9. At the end of the song press STOP in Audacity, then lift and move the tone arm to the tone arm rest.
Move the cursor to the wave area and left click at the end of the song.
10. For the next song, replace the album or move tone arm to another desired song. Immediately press
the RECORD button on Audacity and the recording will continue and other R/L tracks will appear in the
interface.
11. Repeat steps 9 and 10 until all desired tracks have been recorded.
12. To save the tracks, first select “Preferences”, select the “File Formats” tab and click on the “Find Library”
button. Select “Yes” and select the location of the “lame_enc.dll” file, (available on the driver cd).
Optionally you can choose to copy the file to your HDD.
13. Highlight the track you want to save by left clicking, holding, and dragging over the waveform in the
display. Release the mouse when the whole track you wish to save is highlighted.
14. Click file and select “Export selection as MP”, fill in the file name and select a location to save. After
finishing the first track repeat step 13 for all the tracks you wish to save.
Safety precautions:
To reduce risk of electric shock, this product should ONLY be opened
by an authorized technician when service is required. Disconnect the
product from mains and other equipment if a problem should occur.
Do not expose the product to water or moisture.
Maintenance:
Clean only with a dry cloth. Do not use cleaning solvents or abrasives.
Warranty:
No guarantee or liability can be accepted for any changes and modications of the product or damage
caused due to incorrect use of this product.
General:
Designs and specications are subject to change without notice.
All logos brands and product names are trademarks or registered trademarks of their respective holders and
are hereby recognized as such.
Keep this manual and packaging for future reference.
Attention:
This product is marked with this symbol. It means that used electrical and electronic products should
not be mixed with general household waste. There is a separate collections system for these products.
RISK HOC SOF ELECTRIC K
DO NO T OPE N
CAU T I O N
Specyfikacje produktu
| Marka: | Konig |
| Kategoria: | Sprzęt DJ-ski |
| Model: | HAV-TT25USB |
Potrzebujesz pomocy?
Jeśli potrzebujesz pomocy z Konig HAV-TT25USB, zadaj pytanie poniżej, a inni użytkownicy Ci odpowiedzą
Instrukcje Sprzęt DJ-ski Konig

1 Września 2024
8 Sierpnia 2024
6 Sierpnia 2024
Instrukcje Sprzęt DJ-ski
- Sprzęt DJ-ski Yamaha
- Sprzęt DJ-ski BeamZ
- Sprzęt DJ-ski Pioneer
- Sprzęt DJ-ski SilverCrest
- Sprzęt DJ-ski Technics
- Sprzęt DJ-ski Roland
- Sprzęt DJ-ski Kärcher
- Sprzęt DJ-ski Muse
- Sprzęt DJ-ski Behringer
- Sprzęt DJ-ski Allen & Heath
- Sprzęt DJ-ski IK Multimedia
- Sprzęt DJ-ski American DJ
- Sprzęt DJ-ski Lenco
- Sprzęt DJ-ski Marquant
- Sprzęt DJ-ski Majestic
- Sprzęt DJ-ski Native Instruments
- Sprzęt DJ-ski Teac
- Sprzęt DJ-ski Dual
- Sprzęt DJ-ski Line 6
- Sprzęt DJ-ski DAP-Audio
- Sprzęt DJ-ski Chauvet
- Sprzęt DJ-ski Denon
- Sprzęt DJ-ski Swann
- Sprzęt DJ-ski Cambridge
- Sprzęt DJ-ski Kenwood
- Sprzęt DJ-ski Røde
- Sprzęt DJ-ski Konig & Meyer
- Sprzęt DJ-ski Focusrite
- Sprzęt DJ-ski Alesis
- Sprzęt DJ-ski TechniSat
- Sprzęt DJ-ski Auna
- Sprzęt DJ-ski Eurolite
- Sprzęt DJ-ski Krüger&Matz
- Sprzęt DJ-ski Thomson
- Sprzęt DJ-ski Pro-Ject
- Sprzęt DJ-ski Korg
- Sprzęt DJ-ski Pyle
- Sprzęt DJ-ski Zoom
- Sprzęt DJ-ski Numark
- Sprzęt DJ-ski Marantz
- Sprzęt DJ-ski PreSonus
- Sprzęt DJ-ski Nevir
- Sprzęt DJ-ski Vonyx
- Sprzęt DJ-ski Fluid
- Sprzęt DJ-ski ION
- Sprzęt DJ-ski Audio-Technica
- Sprzęt DJ-ski TC Helicon
- Sprzęt DJ-ski AKAI
- Sprzęt DJ-ski Fuzzix
- Sprzęt DJ-ski Monkey Banana
- Sprzęt DJ-ski Thorens
- Sprzęt DJ-ski Omnitronic
- Sprzęt DJ-ski Saramonic
- Sprzęt DJ-ski Gravity
- Sprzęt DJ-ski Victrola
- Sprzęt DJ-ski McIntosh
- Sprzęt DJ-ski Denver
- Sprzęt DJ-ski AVerMedia
- Sprzęt DJ-ski Gemini
- Sprzęt DJ-ski Trevi
- Sprzęt DJ-ski Technaxx
- Sprzęt DJ-ski Martin
- Sprzęt DJ-ski Arturia
- Sprzęt DJ-ski Power Dynamics
- Sprzęt DJ-ski Steinberg
- Sprzęt DJ-ski Monacor
- Sprzęt DJ-ski Tascam
- Sprzęt DJ-ski RME
- Sprzęt DJ-ski Atomix
- Sprzęt DJ-ski Novation
- Sprzęt DJ-ski Vocopro
- Sprzęt DJ-ski SPL
- Sprzęt DJ-ski Nektar
- Sprzęt DJ-ski Reloop
- Sprzęt DJ-ski Music Hall
- Sprzęt DJ-ski American Audio
- Sprzęt DJ-ski Brigmton
- Sprzęt DJ-ski Sunstech
- Sprzęt DJ-ski Envivo
- Sprzęt DJ-ski Bigben Interactive
- Sprzęt DJ-ski AV:link
- Sprzęt DJ-ski Faderfox
- Sprzęt DJ-ski Apogee
- Sprzęt DJ-ski Pyle Pro
- Sprzęt DJ-ski Festo
- Sprzęt DJ-ski EVO
- Sprzęt DJ-ski QTX
- Sprzęt DJ-ski Ricatech
- Sprzęt DJ-ski Mpman
- Sprzęt DJ-ski Swissonic
- Sprzęt DJ-ski ESI
- Sprzęt DJ-ski Roadstar
- Sprzęt DJ-ski Apart
- Sprzęt DJ-ski Audient
- Sprzęt DJ-ski Skytec
- Sprzęt DJ-ski M-Audio
- Sprzęt DJ-ski Denon DJ
- Sprzęt DJ-ski Eliminator Lighting
- Sprzęt DJ-ski AudioQuest
- Sprzęt DJ-ski Stanton
- Sprzęt DJ-ski Citronic
- Sprzęt DJ-ski Universal Audio
- Sprzęt DJ-ski Keith MCmillen
- Sprzęt DJ-ski MWM
- Sprzęt DJ-ski Hercules
- Sprzęt DJ-ski Motu
- Sprzęt DJ-ski Suonobuono
- Sprzęt DJ-ski Formula Sound
- Sprzęt DJ-ski IConnectivity
- Sprzęt DJ-ski Ortofon
- Sprzęt DJ-ski Serato
- Sprzęt DJ-ski Kenton
- Sprzęt DJ-ski Ecler
- Sprzęt DJ-ski Icon
- Sprzęt DJ-ski DB Technologies
- Sprzęt DJ-ski Fun Generation
- Sprzęt DJ-ski Glorious
- Sprzęt DJ-ski Cheetah
- Sprzęt DJ-ski ANT
- Sprzęt DJ-ski IMG Stage Line
- Sprzęt DJ-ski Sirus
- Sprzęt DJ-ski Rane
- Sprzęt DJ-ski Elektron
- Sprzęt DJ-ski Zomo
- Sprzęt DJ-ski Flexson
- Sprzęt DJ-ski Genki Instruments
- Sprzęt DJ-ski JTS
- Sprzęt DJ-ski Mixars
- Sprzęt DJ-ski UDG Gear
- Sprzęt DJ-ski Pangea Audio
- Sprzęt DJ-ski Meris
- Sprzęt DJ-ski PLAYdifferently
- Sprzęt DJ-ski The T.mix
- Sprzęt DJ-ski MoFi
- Sprzęt DJ-ski AlphaTheta
- Sprzęt DJ-ski Headliner
Najnowsze instrukcje dla Sprzęt DJ-ski
14 Marca 2025
5 Marca 2025
4 Marca 2025

8 Lutego 2025
7 Lutego 2025
7 Lutego 2025
30 Stycznia 2025

30 Stycznia 2025
27 Stycznia 2025
11 Stycznia 2025