Instrukcja obsługi Techno Line WS-7018S
Techno Line Stacja pogodowa WS-7018S
Przeczytaj poniżej 📖 instrukcję obsługi w języku polskim dla Techno Line WS-7018S (25 stron) w kategorii Stacja pogodowa. Ta instrukcja była pomocna dla 33 osób i została oceniona przez 5 użytkowników na średnio 4.1 gwiazdek
Strona 1/25
WIRELESS 433 MHz WEATHER STATION
Instruction Manual
INTRODUCTION:
Congratulations on purchasing this Weather Station with wireless 433MHz transmission of outdoor temperature
and humidity and display of indoor temperature and humidity. It is further featuring a DCF-77 radio controlled clock
with date display and two alarms. With eight easy to use function keys, this innovative product is ideal for use in the
home or office.
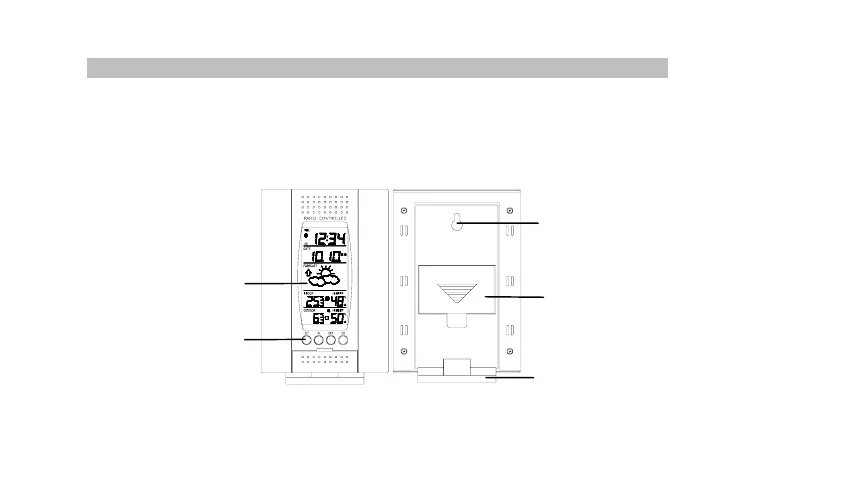
FEATURES:
The Weather Station
Detachable stand
Function Keys
Battery cover
LCD Display
Hanging Hole
• DCF-77 Radio controlled time with manual setting options
• Time reception ON/OFF
• 12/24 hour display
29
Specyfikacje produktu
| Marka: | Techno Line |
| Kategoria: | Stacja pogodowa |
| Model: | WS-7018S |
Potrzebujesz pomocy?
Jeśli potrzebujesz pomocy z Techno Line WS-7018S, zadaj pytanie poniżej, a inni użytkownicy Ci odpowiedzą
Instrukcje Stacja pogodowa Techno Line

4 Stycznia 2025
27 Grudnia 2024
27 Grudnia 2024
27 Grudnia 2024
27 Grudnia 2024
27 Grudnia 2024
27 Grudnia 2024
27 Grudnia 2024
27 Grudnia 2024
27 Grudnia 2024
Instrukcje Stacja pogodowa
Najnowsze instrukcje dla Stacja pogodowa
2 Kwietnia 2025
27 Marca 2025
27 Marca 2025
4 Marca 2025
27 Lutego 2025
5 Lutego 2025
27 Stycznia 2025
27 Stycznia 2025
15 Stycznia 2025
14 Stycznia 2025