Instrukcja obsługi Sitecom WL-361
Przeczytaj poniżej 📖 instrukcję obsługi w języku polskim dla Sitecom WL-361 (62 stron) w kategorii router. Ta instrukcja była pomocna dla 11 osób i została oceniona przez 2 użytkowników na średnio 4.5 gwiazdek
Strona 1/62
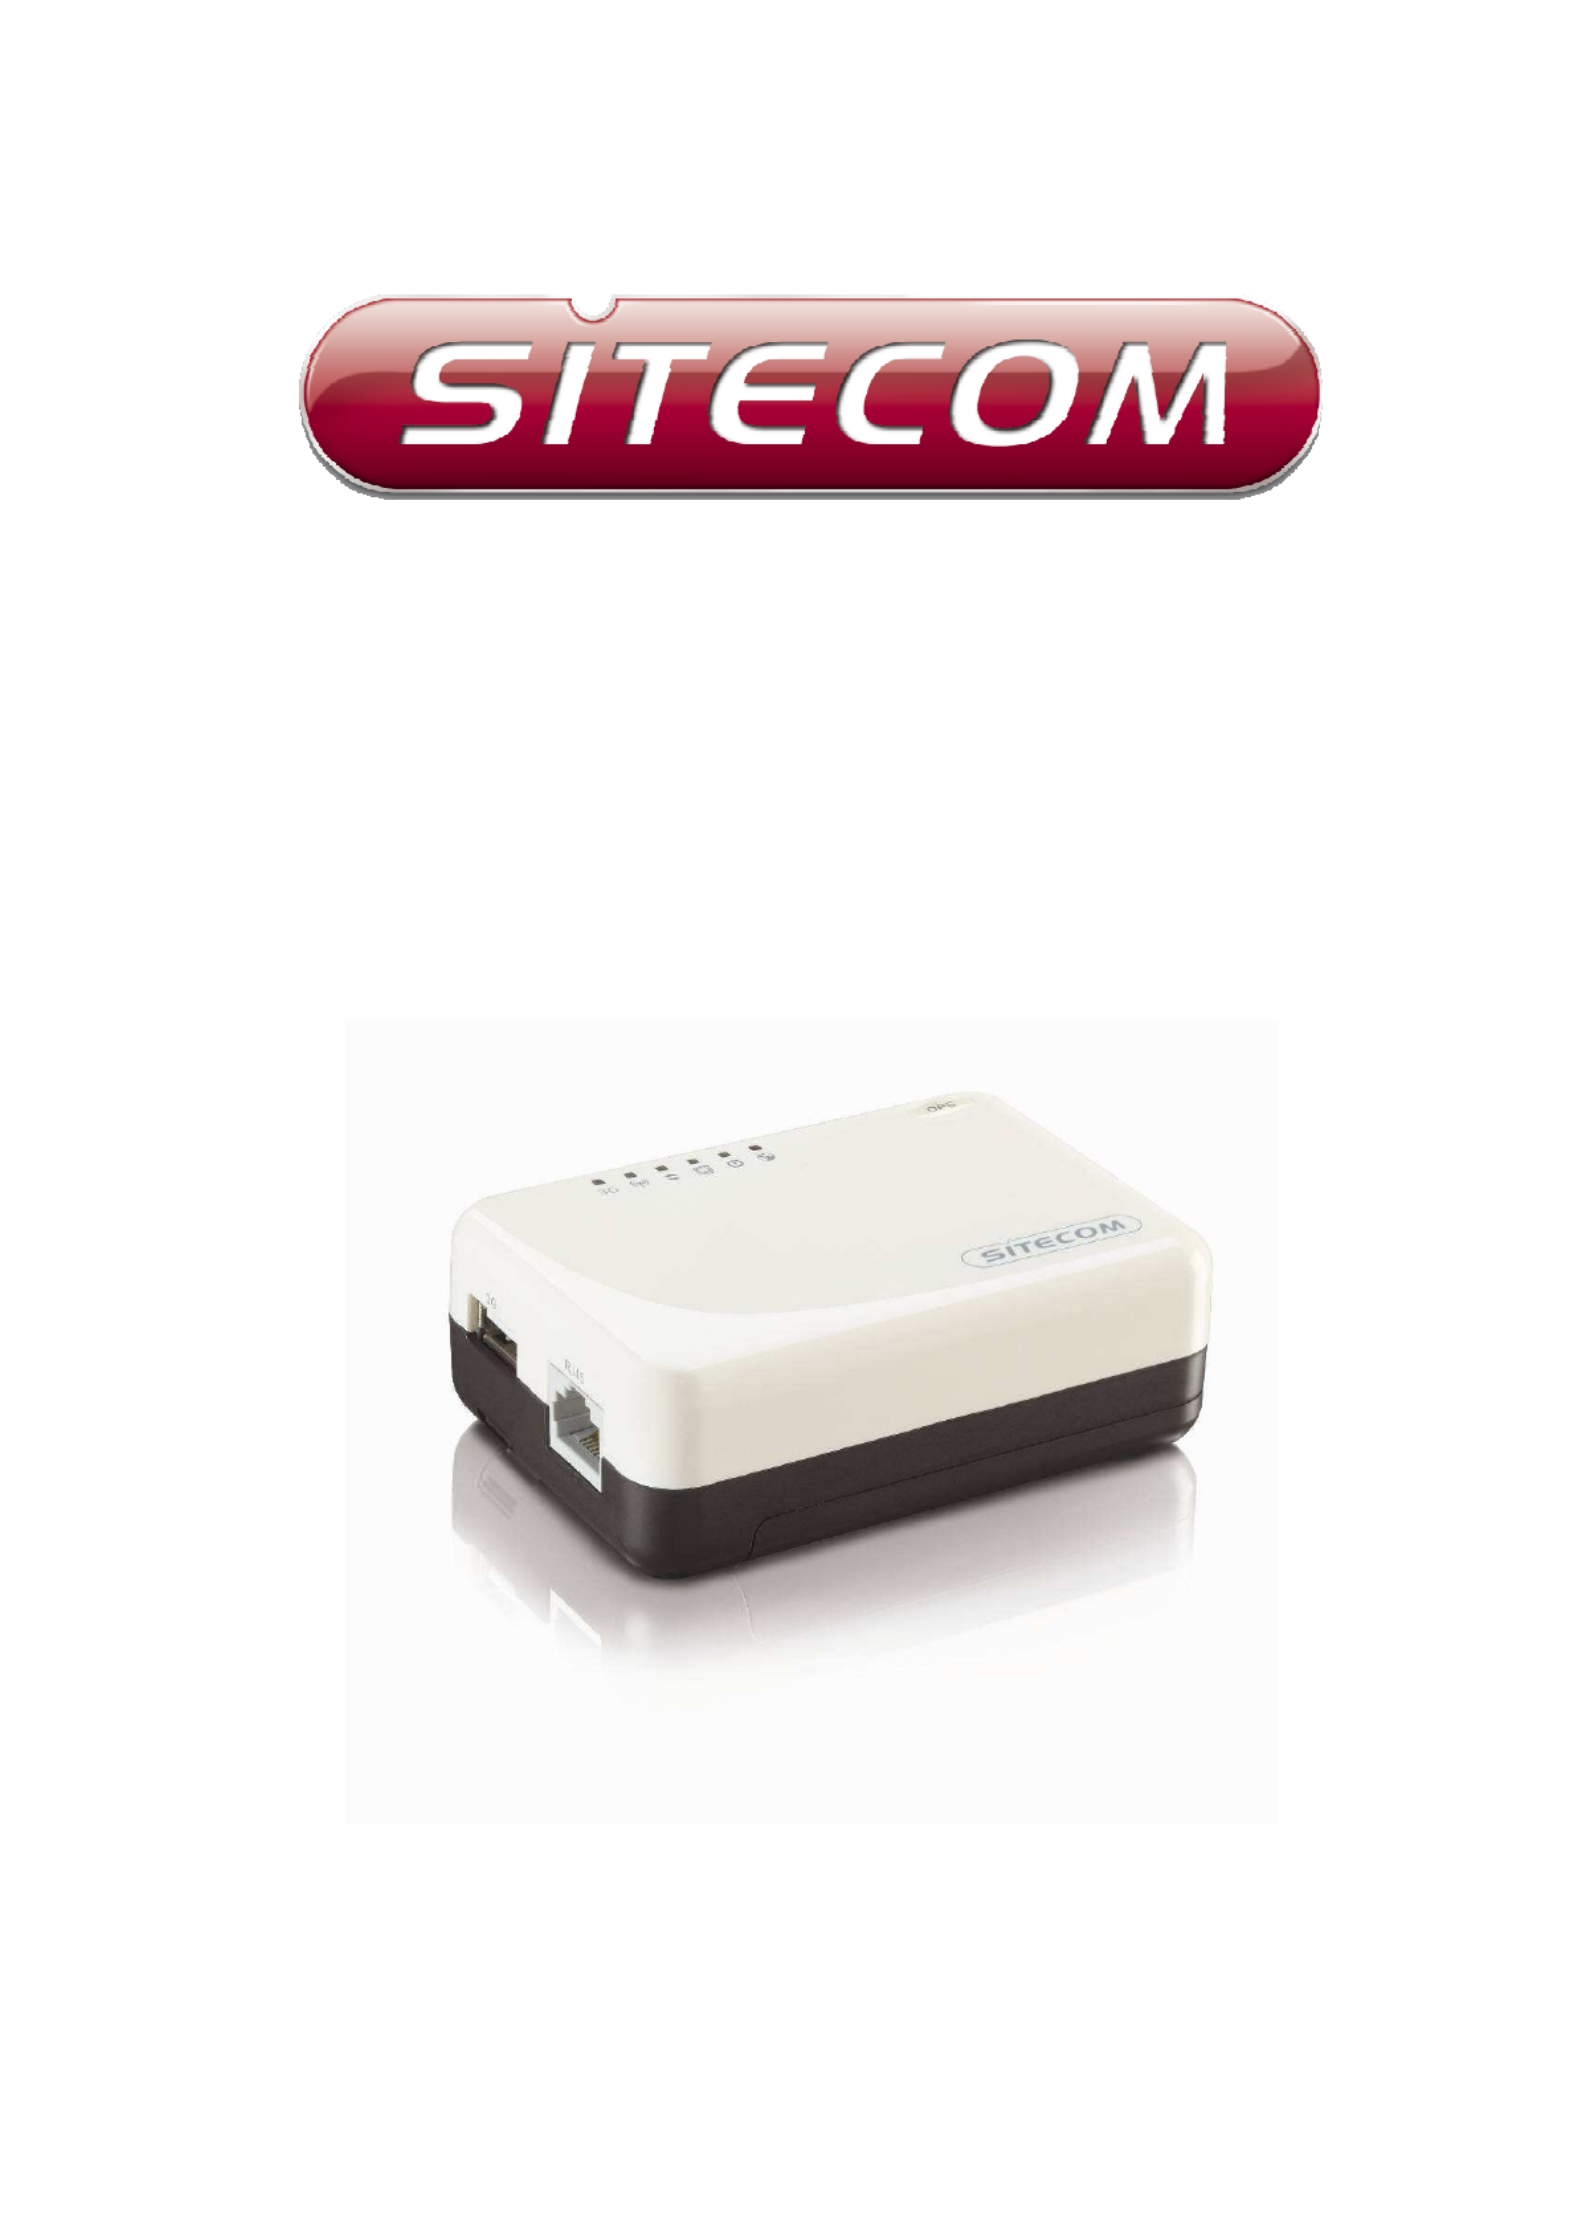
WL-361
Wireless Mobile Router 150N

2
User Manual
T
ABLE OF
C
ONTENTS
1
KEY FEATURES................................................................................. 4
2
PACKAGE CONTENTS ....................................................................... 5
3
PRODUCT LAYOUT ........................................................................... 6
4
NETWORK + SYSTEM REQUIREMENTS ............................................. 8
5
WL-361 PLACEMENT ........................................................................ 8
6
SETUP LAN, WAN............................................................................. 9
7
PC NETWORK ADAPTER SETUP ...................................................... 10
8
BRINGING UP THE WL-361............................................................ 14
9
INITIAL SETUP OF THE WL-361..................................................... 14
10
CONFIGURATION WIZARD ............................................................ 24
11
WIRELESS SETTINGS..................................................................... 26
12
FIREWALL SETTINGS..................................................................... 36
13
ADVANCED SETTINGS.................................................................... 42
14
TOOLBOX SETTINGS...................................................................... 52
Revision: 1.0

Introduction
Congratulations on your purchase of the WL-361 Wireless Mobile Router 150N.
The WL-361 is compliant with draft 802.11n v 2.0 up to 6 times faster than
standard 802.11g based routers while still being compatible with 802.11g &
802.11b gadgets.
At 150 Mbps wireless transmission rate, the Access Point built into the Router
uses advanced MIMO (Multi-Input, Multi-Output) technology to transmit multiple
steams of data in a single wireless channel, giving you seamless access to
multimedia content. Robust RF signal Mobiles farther, eliminates dead spots and
extends network range. For data protection and privacy, the WL-361 encodes all
wireless transmissions with WEP, WPA, and WPA2 encryption.
With the built-in DHCP Server & powerful SPI firewall, the WL-361 protects your
computers against intruders and most known Internet attacks but provides safe
VPN pass-through. With the small form factor and built-in power supply, the WL-
361 is ideal for use on the move, in hotels or on campsites.
Besides, it also provides a USB port which let you easily share a 3G/UMTS
modem. The battery allows for up to 6 hours of work without the need for a
power socket.

1 Key Features
Features Advantages
Incredible Data Rate up to
150Mbps*
Heavy data payloads such as
MPEG video streaming
IEEE 802.11n draft 2.0 Compliant
and backward compatible with
802.11b/g
Fully Interoperable with IEEE
802.11b / IEEE802.11g
compliant devices with legacy
protection
USB port for 3G USB modem
Wireless internet everywhere,
even without broadband
availability.
Firewall supports Virtual Server
Mapping, DMZ, IP Filter, ICMP
Blocking, SPI
Avoids the attacks of Hackers or
Viruses from Internet
Support 802.1x authenticator,
802.11i (WPA/WPA2, AES), VPN
pass-through
Provide mutual authentication
(Client and dynamic encryption
keys to enhance security
OPS (One Push Setup)
Connect a client via a secure
connection with one push of a
button.
* Theoretical wireless signal rate based on IEEE standard of 802.11a, b, g, n chipset used. Actual
throughput may vary. Network conditions and environmental factors lower actual throughput rate.
All specifications are subject to change without notice.

2 Package Contents
Open the package carefully, and make sure that none of the items listed
below are missing. Do not discard the packing materials, in case of return;
the unit must be shipped back in its original package.
1. WL-361 Router
2. USB cable
3. Power adapter 5V
4. Quick Install Guide
5. CD (User’s Manual)
6. Warranty card
7. UTP cable

3 Product Layout
Port Description
RJ45 Connect your ADSL/Cable modem to this port
3G Connect your 3G USB modem to this port
Top Cover
On the top cover you can see the LEDs that show the functionality of the
device. Also present is the OPS button which allows you to connect your
computer with a secure wireless connection with the push of a button.
From left to right the LED’s show the following:
Internet, Power, Ethernet, WPS, WLAN, 3G (USB)

Button Description
Press 2 seconds for OPS mode
Press 10 seconds to reset the router
OPS
Press 15 Seconds to reset the router to factory
defaults.
Back label
The back label describes the IP address, login details, SSID, security and code.

4 Network + System Requirements
To begin using the WL-361, make sure you meet the following as minimum
requirements:
• PC/Notebook.
• Operating System – Microsoft Windows XP/2000/VISTA
• Wi-Fi card/USB client (802.11 b/g/n).
• External xDSL (ADSL) or Cable modem with an Ethernet port (RJ-45),
or a 3G USB modem.
• Web-Browser (Internet Explorer, Safari, Firefox, Opera)
5 WL-361 Placement
You can place the WL-361 on a desk or other flat surface, or you can mount it
on a wall. For optimal performance, place your Wireless Mobile Router 150N in
the center of your office (or your home) in a location that is away from any
potential source of interference, such as a metal wall or microwave oven. This
location must be close your ADSL/Cable modem in case you’re using the WAN
port.

6 Setup LAN, WAN
The WL-361 has one Ethernet port that doubles as a WAN (Internet) port and
a LAN port.
When no 3G USB client is inserted in the USB port, the port functions as WAN.
When a 3G USB client is inserted in the USB port, the port functions as LAN.
To use only the 3G USB connection, just insert a 3G USB client into the
designated USB port.

7 PC Network Adapter setup
Windows XP
• Enter [Start Menu] select [Control panel] select [Network].
• Select [Local Area Connection]) icon=>select [properties]

• Select [Internet Protocol (TCP/IP)] =>Click [Properties].
• Select the [General] tab.
a. The WL-361 supports [DHCP] function, please select both [Obtain an IP
address automatically] and [Obtain DNS server address automatically].

Windows Vista
• Enter [Start Menu] select [Control panel] select [View network status
and tasks] -> select [Manage network connections].
• Select [Local Area Connection]) icon=>select [properties]

• Select [Internet Protocol Version 4 (TCP/IPv4)] =>Click [Properties].
• Select the [General] tab.
The WL-361 supports [DHCP] function, please select both [Obtain an IP address
automatically] and [Obtain DNS server address automatically].

8 Bringing up the WL-361
Connect the supplied power-adapter to the power inlet port and connect it to
a wall outlet, or switch the router on without the power adapter connected to
work off the battery. The WL-361 automatically enters the self-test phase.
During self-test phase, the Power LED will be lit continuously to indicate that
this product is in normal operation.
9 Initial Setup of the WL-361
LOGIN procedure
1. OPEN your browser (e.g. Internet Explorer).
2. Type in the address bar and press [Enter]. http://192.168.0.1
Specyfikacje produktu
| Marka: | Sitecom |
| Kategoria: | router |
| Model: | WL-361 |
| Waga produktu: | - g |
| Standardy komunikacyjne: | IEEE 802.3u |
| Prędkość transferu danych przez Ethernet LAN: | 10,100,1000 Mbit/s |
| Ilość portów Ethernet LAN (RJ-45): | 1 |
| Przewodowa sieć LAN: | Tak |
| Szyfrowanie / bezpieczeństwo: | 128-bit WEP, 64-bit WEP, WPA-AES, WPA-TKIP, WPA2 |
| Typ interfejsu Ethernet LAN: | Gigabit Ethernet |
| Obsługa jakość serwisu (QoS): | Tak |
| Ilość anten: | 1 |
| Wymiary produktu (SxGxW): | - mm |
| Universal Plug and Play (UPnP): | Tak |
Potrzebujesz pomocy?
Jeśli potrzebujesz pomocy z Sitecom WL-361, zadaj pytanie poniżej, a inni użytkownicy Ci odpowiedzą
Instrukcje router Sitecom

23 Września 2024
22 Września 2024
20 Września 2024
20 Września 2024
19 Września 2024
19 Września 2024
16 Września 2024
15 Września 2024
10 Września 2024
9 Września 2024
Instrukcje router
- router Samsung
- router Tenda
- router AEG
- router Motorola
- router Xiaomi
- router Huawei
- router TCL
- router TP-Link
- router Milwaukee
- router Gigabyte
- router Acer
- router Bosch
- router Hikvision
- router Roland
- router Nokia
- router Toolcraft
- router Festool
- router EZVIZ
- router Conceptronic
- router StarTech.com
- router Asus
- router Medion
- router Black & Decker
- router TRENDnet
- router MSI
- router D-Link
- router ATen
- router Siemens
- router Thrustmaster
- router DeWalt
- router Einhell
- router Alcatel
- router Sigma
- router HP
- router Teltonika
- router Silverline
- router Manhattan
- router Strong
- router Makita
- router Mikrotik
- router Cisco
- router Moxa
- router Synology
- router Gembird
- router ZTE
- router Lindy
- router Zebra
- router ZyXEL
- router Trust
- router LogiLink
- router Dell
- router IFM
- router Linksys
- router Google
- router Digitus
- router Vimar
- router Dahua Technology
- router Schneider
- router Kyocera
- router Sabrent
- router AVMATRIX
- router Renkforce
- router Netgear
- router Thomson
- router AVM
- router BT
- router Totolink
- router Black Box
- router Güde
- router Apple
- router Lancom
- router Zoom
- router Iogear
- router Intellinet
- router Devolo
- router Vtech
- router Mercusys
- router I-TEC
- router Draytek
- router Edimax
- router Razer
- router AirLive
- router EnGenius
- router Planet
- router NEC
- router Blustream
- router LevelOne
- router Digi
- router Milesight
- router Rocstor
- router Hama
- router Ubiquiti Networks
- router Western Digital
- router ModeCom
- router Smart-AVI
- router Barco
- router Sagemcom
- router Juniper
- router Cudy
- router QNAP
- router Arris
- router Netis
- router Anker
- router Allnet
- router Marshall Electronics
- router Hitachi
- router M-life
- router AJA
- router Media-Tech
- router BenQ
- router Atlona
- router FSR
- router Gefen
- router Vivanco
- router Topcom
- router PowerPlus
- router HiKOKI
- router Blackmagic Design
- router Kathrein
- router JUNG
- router Foscam
- router Alfa
- router Porter-Cable
- router Metabo
- router Starlink
- router Keewifi
- router Digital Forecast
- router Keenetic
- router SPL
- router Cotech
- router Skil
- router Alfatron
- router Digitalinx
- router Clas Ohlson
- router KPN
- router Belkin
- router Kramer
- router KanexPro
- router Kopul
- router BZBGear
- router RGBlink
- router Key Digital
- router UPC
- router Lumantek
- router Allied Telesis
- router Actiontec
- router Proximus
- router Eminent
- router Sagem
- router Nilox
- router Sonos
- router Patton
- router Techly
- router Envivo
- router Buffalo
- router Nest
- router Vodafone
- router ICIDU
- router Milan
- router Konig
- router AT&T
- router Sweex
- router Aruba
- router Phicomm
- router Kasda
- router Technicolor
- router Verizon
- router Billion
- router T-Mobile
- router RAVPower
- router Hawking Technologies
- router Nexxt
- router WyreStorm
- router Beafon
- router Kraun
- router LTS
- router Zolid
- router Telstra
- router Holzmann
- router SIIG
- router Eero
- router Advantech
- router Mercku
- router Hercules
- router Xantech
- router Intelix
- router MuxLab
- router Pentagram
- router Ocean Matrix
- router Comprehensive
- router Arcadyan
- router Digiconnect
- router Ubee
- router SMC
- router Tele 2
- router Kogan
- router Peak
- router CradlePoint
- router Davolink
- router Sixnet
- router AVPro Edge
- router Evolution
- router 7inova
- router Predator
- router A-NeuVideo
- router United Telecom
- router F-Secure
- router Rosewill
- router Digicom
- router On Networks
- router Wisetiger
- router Leoxsys
- router Readynet
- router OneAccess
- router Accelerated
- router Nexaira
- router Hamlet
- router Approx
- router T-com
- router Amped Wireless
- router Cambium Networks
- router 3Com
- router Avenview
- router Ruckus Wireless
- router Dovado
- router Mach Power
- router EXSYS
- router NetComm
- router Comtrend
- router Premiertek
- router Bea-fon
- router GL.iNet
- router Shinybow
- router Edgewater
- router Atlantis Land
- router Lantronix
- router PulseAudio
- router Luxul
- router DVDO
- router StarIink
- router Silentwind
- router Keezel
- router VigilLink
Najnowsze instrukcje dla router
9 Kwietnia 2025
9 Kwietnia 2025

8 Kwietnia 2025

3 Kwietnia 2025

2 Kwietnia 2025
1 Kwietnia 2025
30 Marca 2025
30 Marca 2025
30 Marca 2025
30 Marca 2025