Instrukcja obsługi Sanyo VCC-MC800P
Sanyo
Kamera monitorująca
VCC-MC800P
Przeczytaj poniżej 📖 instrukcję obsługi w języku polskim dla Sanyo VCC-MC800P (59 stron) w kategorii Kamera monitorująca. Ta instrukcja była pomocna dla 10 osób i została oceniona przez 2 użytkowników na średnio 4.5 gwiazdek
Strona 1/59

INSTRUCTION MANUAL VCC-MC800P
VCC-MC700P
Color CCD Camera
About this manual
Before installing and using this unit, please read this manual carefully.
Be sure to keep it handy for later reference.

1
Contents
Main Features . . . . . . . . . . . . . . . . . . . . . . . . . . . . . . .2
Precautions. . . . . . . . . . . . . . . . . . . . . . . . . . . . . . . . .3
Before Using the Menu . . . . . . . . . . . . . . . . . . . . . . .4
Basic Operations for Performing Settings in the
Menu . . . . . . . . . . . . . . . . . . . . . . . . . . . . . . . . . . . . . .5
About Setting Menus . . . . . . . . . . . . . . . . . . . . . . . . .6
■Setting menu mode . . . . . . . . . . . . . . . . . . . . . . . . . 6
■Setting menu composition. . . . . . . . . . . . . . . . . . . . 7
Camera Settings (CAMERA) . . . . . . . . . . . . . . . . . . .8
AAdjusting synchronization signal (SYNC) . . . . . . 10
BSetting lens aperture (IRIS) . . . . . . . . . . . . . . . . . . 11
■Auto iris (AUTO) . . . . . . . . . . . . . . . . . . . . . . . . . . . . . . 11
■Manual iris (MANU) . . . . . . . . . . . . . . . . . . . . . . . . . . . 11
CSetting the white balance
(WHITE BALANCE) . . . . . . . . . . . . . . . . . . . . . . . . . 12
■Auto trace white balance (ATW) . . . . . . . . . . . . . . . . . 12
■One-push automatic white balance (AWC) . . . . . . . . 13
■Fixed white balance (3200/5600/FLUO) . . . . . . . . . . . 13
■Manual white balance (MWB) . . . . . . . . . . . . . . . . . . . 13
DSetting the backlight compensation level
(BLC) . . . . . . . . . . . . . . . . . . . . . . . . . . . . . . . . . . . . 14
■Multi-spot evaluative metering (MULT) . . . . . . . . . . . 14
■Center-weighted average metering (CENT) . . . . . . . . 14
■Multi-spot metering (MASK) . . . . . . . . . . . . . . . . . . . . 15
ESetting the electronic shutter (SHUTTER) . . . . . . 16
■Fast shutter speed (SHORT) . . . . . . . . . . . . . . . . . . . . 16
■Slow shutter speed (LONG) . . . . . . . . . . . . . . . . . . . . 16
FSetting the profile compensation
(APERTURE) . . . . . . . . . . . . . . . . . . . . . . . . . . . . . . 17
GSetting the AGC level (AGC) . . . . . . . . . . . . . . . . . 17
HSetting the gamma correction level
(GAMMA) . . . . . . . . . . . . . . . . . . . . . . . . . . . . . . . . . 18
ISetting the Day/Night function (DAY/NIGHT) . . . . 19
■Setting the Day/Night function (AUTO) . . . . . . . . . . . 19
■Using the color mode only (COLOR) . . . . . . . . . . . . . 20
■Using the black and white mode only (B/W) . . . . . . . 21
Lens Settings (LENS). . . . . . . . . . . . . . . . . . . . . . . .22
ASetting the focusing mode (FOCUS). . . . . . . . . . . 22
■Auto focus (AUTO). . . . . . . . . . . . . . . . . . . . . . . . . . . . 22
■Manual focus (MANU) . . . . . . . . . . . . . . . . . . . . . . . . . 23
BSetting the zooming operations (ZOOM) . . . . . . . 24
Pan and Tilt Settings (PAN/TILT) . . . . . . . . . . . . . .25
ARegistering a surveillance location
(PRESET POSITION). . . . . . . . . . . . . . . . . . . . . . . . 26
■Determining the surveillance position (POSITION) . 26
■Specifying the camera ID and title . . . . . . . . . . . . . . . 26
■Registering a view setting file (CAMERA VIEW) . . . . 27
■Grouping the preset positions
(SEQUENCE GROUP) . . . . . . . . . . . . . . . . . . . . . . . . . 29
■Deleting a preset position (DELETE) . . . . . . . . . . . . . 30
■Switching to a preset position (PRESET GO) . . . . . . 30
BMaking the amount of movement in the screen
constant (PROPORTIONAL). . . . . . . . . . . . . . . . . . 31
CDisplaying a still image while switching the
surveillance location (FREEZE) . . . . . . . . . . . . . . .31
DSetting the starting point (0 degrees) angle
information (SET NORTH) . . . . . . . . . . . . . . . . . . . .31
ELimiting the tilting angle (TILT LIMIT) . . . . . . . . . .32
Auto Mode Settings (AUTO MODE) . . . . . . . . . . . 33
AMonitoring multiple preset positions
sequentially (SEQUENCE). . . . . . . . . . . . . . . . . . . .34
BPanning between two surveillance
locations in loop (AUTO PAN) . . . . . . . . . . . . . . . .35
CRepeating a recorded monitoring process
(TOUR). . . . . . . . . . . . . . . . . . . . . . . . . . . . . . . . . . . .36
DReturning automatically to the specified
surveillance mode (AUTO RETURN) . . . . . . . . . . .37
Alarm Settings (ALARM) . . . . . . . . . . . . . . . . . . . . 38
ASetting the alarm input (ALARM IN) . . . . . . . . . . . .39
BSetting the alarm output (ALARM OUT). . . . . . . . .40
CSetting the alarm disabling duration
(ALARM DISABLE) . . . . . . . . . . . . . . . . . . . . . . . . . .41
DSetting the motion sensor (MOTION) . . . . . . . . . . .41
■Setting the motion zone. . . . . . . . . . . . . . . . . . . . . . . . 41
■Setting the detection sensitivity . . . . . . . . . . . . . . . . . 42
ESetting the alarm information display
(ALARM DISPLAY) . . . . . . . . . . . . . . . . . . . . . . . . . .43
Privacy Mask Settings (PRIVACY MASK) . . . . . . 44
Password Settings (PASSWORD). . . . . . . . . . . . . 45
■Enabling password lock . . . . . . . . . . . . . . . . . . . . . . . 45
■Disabling password lock . . . . . . . . . . . . . . . . . . . . . . . 45
■Changing the password. . . . . . . . . . . . . . . . . . . . . . . . 46
Language Settings (LANGUAGE) . . . . . . . . . . . . . 47
Miscellaneous Settings (OPTION) . . . . . . . . . . . . 48
ASetting the display information
(INFORMATION) . . . . . . . . . . . . . . . . . . . . . . . . . . . .49
■Setting the item to be displayed (DISPLAY) . . . . . . . 49
■Displaying the system information (SYSTEM) . . . . . 49
BSetting the auto flip function (AUTO FLIP) . . . . . .50
CCorrecting the sway of the camera
(STABILIZER) . . . . . . . . . . . . . . . . . . . . . . . . . . . . . .50
DSetting the auto pursuit function
(AUTO PURSUIT) . . . . . . . . . . . . . . . . . . . . . . . . . . .51
ESetting the mirroring function (MIRROR) . . . . . . .51
FPerforming the refresh function (REFRESH). . . . .51
Menu Structure Diagram . . . . . . . . . . . . . . . . . . . . 52
Specifications . . . . . . . . . . . . . . . . . . . . . . . . . . . . . 57

2
Main Features
bX36 optical zoom
bHigh precision mechanism enabling high
speed 360 degrees rotation
b-5 to 185 degrees tilting angle
bEasy installation and removal
bAuto pursuit function
bSway correction function
Providing clearer monitored images
• Detailed surveillance options including auto focus, auto iris, white
balance, backlight/profile compensation, electronic shutter and
AGC
• DAY/NIGHT function enabling 24-hour surveillance
• Up to 256 preset positions and 4 preset position groups are
supported
• Up to 8 camera view setting files can be saved for storing camera
setting patterns
Four types of auto mode settings
1SEQUENCE mode
In this mode, surveillance locations can automatically be moved
to multiple preset positions sequentially.
2AUTO PAN mode
Automatic pan between two surveillance locations in loop can be
set after storing start and end locations.
3TOUR mode
Sequential manual operations such as panning, tilting and
zooming can be saved as a movement track, and the movement
track can be used to automatically repeat the set of camera
operations.
4AUTO RETURN mode
You can automatically return the surveillance status to the
specified surveillance mode after the specified duration has
passed without any operations.
Alarm detection function
• Both built-in and externally connected motion sensors can be
used simultaneously.
• Detailed input/output options for alarm signals are available for
linking external devices such as recorder and alarm buzzer.
Protecting privacy and ensuring security
• Masking patterns can be placed over defined image areas to
protect privacy.
• Password authorization can be set for camera operation.
Additional convenient functions
• Automatic image flipping (AUTO FLIP) function allows you to view
the surveillance image in an upright position when the camera is
tilted beyond the straight down position and the on-screen image
is inverted.
The sway correction function and the auto pursuit functions are
newly featured as standard.
• The MIRRORING function enables surveillance from the camera
set up on the floor.
• The automatic cleaning function keeps horizontal rotation of the
camera in smooth working order.
Supported protocols: SSP, HSSP, Pelco-D, Pelco-C
Memo: To operate the camera, the separately sold Power Board Unit
<VA-84S (for AC24V) or VA-80S (for AC230V)> is required.
The power board unit can be removed easily from the camera
unit by using the releasing levers.
The following parts are expendable items. Be sure to replace them
after their work life has expired. Component performance cannot be
guaranteed when parts are used to the very end of their projected
work life. Durability will differ according to environmental conditions
and usage.
• Lens unit: about 20,000 hours (Motor: 1,200,000 operations)
• Slip ring: about 20,000 hours (1,200,000 rotations)
• Motor: about 33,000 hours (12,000,000 revolutions)
• Fan: about 30,000 hours
• Clamping core (large) x 2 (square type)
• Clamping core (small) x 1 (round type)
For installing the core, refer to the supplied installation manual.
Expendable items Accessories
3
Precautions
■In case of a problem
Do not use the unit if smoke or a strange odor comes from the
unit, or if it seems not to function correctly. Turn off the power
immediately and disconnect the power cord, and then consult
your dealer or an Authorized Sanyo Service Center.
■Do not open or modify
Do not open the cabinet, as it may be dangerous and cause
damage to the unit. For repairs, consult your dealer or an
Authorized Sanyo Service Center.
■Do not put objects inside the unit
Make sure that no metal objects or flammable substance get
inside the unit. If used with a foreign object inside, it could
cause a fire, a short-circuit or damage. Be careful to protect the
unit from rain, sea water, etc. If water or liquid gets inside the
unit, turn off the power immediately and disconnect the power
cord, and then consult your dealer or an Authorized Sanyo
Service Center.
■Be careful when handling the unit
To prevent damage, do not drop the unit or subject it to strong
shock or vibration.
■Do not install this unit close to magnetic fields
The magnetic fields may result in unstable operation.
■Protect from humidity and dust
To prevent damage, do not install the unit where there is
greasy smoke or steam, where the humidity may get too high,
or where there is a lot of dust.
■Protect from high temperatures
Do not install close to stoves, or other heat sources, such as
spotlights, etc., or where it could be subject to direct sunlight,
as this could cause deformation, discoloration or other
damage.
Be careful when installing close to the ceiling, in a kitchen or
boiler room, as the temperature may rise to high levels.
■Cleaning
• Dirt can be removed from the cabinet by wiping it with a soft
cloth. To remove stains, wipe with a soft cloth moistened with
a soft detergent solution and wrung dry, then dry by wiping
with a soft cloth.
• Do not use benzine, thinner or other chemical products on
the cabinet, as this may cause deformation and paint
peeling. Before using a chemical cloth, make sure to read all
accompanying instructions. Make sure that no plastic or
rubber material comes into contact with the cabinet for a long
period of time, as this may cause damage or paint peeling.
■Installing the camera
To avoid an accident caused by a falling camera, when
installing the camera, be sure to follow the installation manual
and fix the camera to a durable ceiling, floor or wall securely.
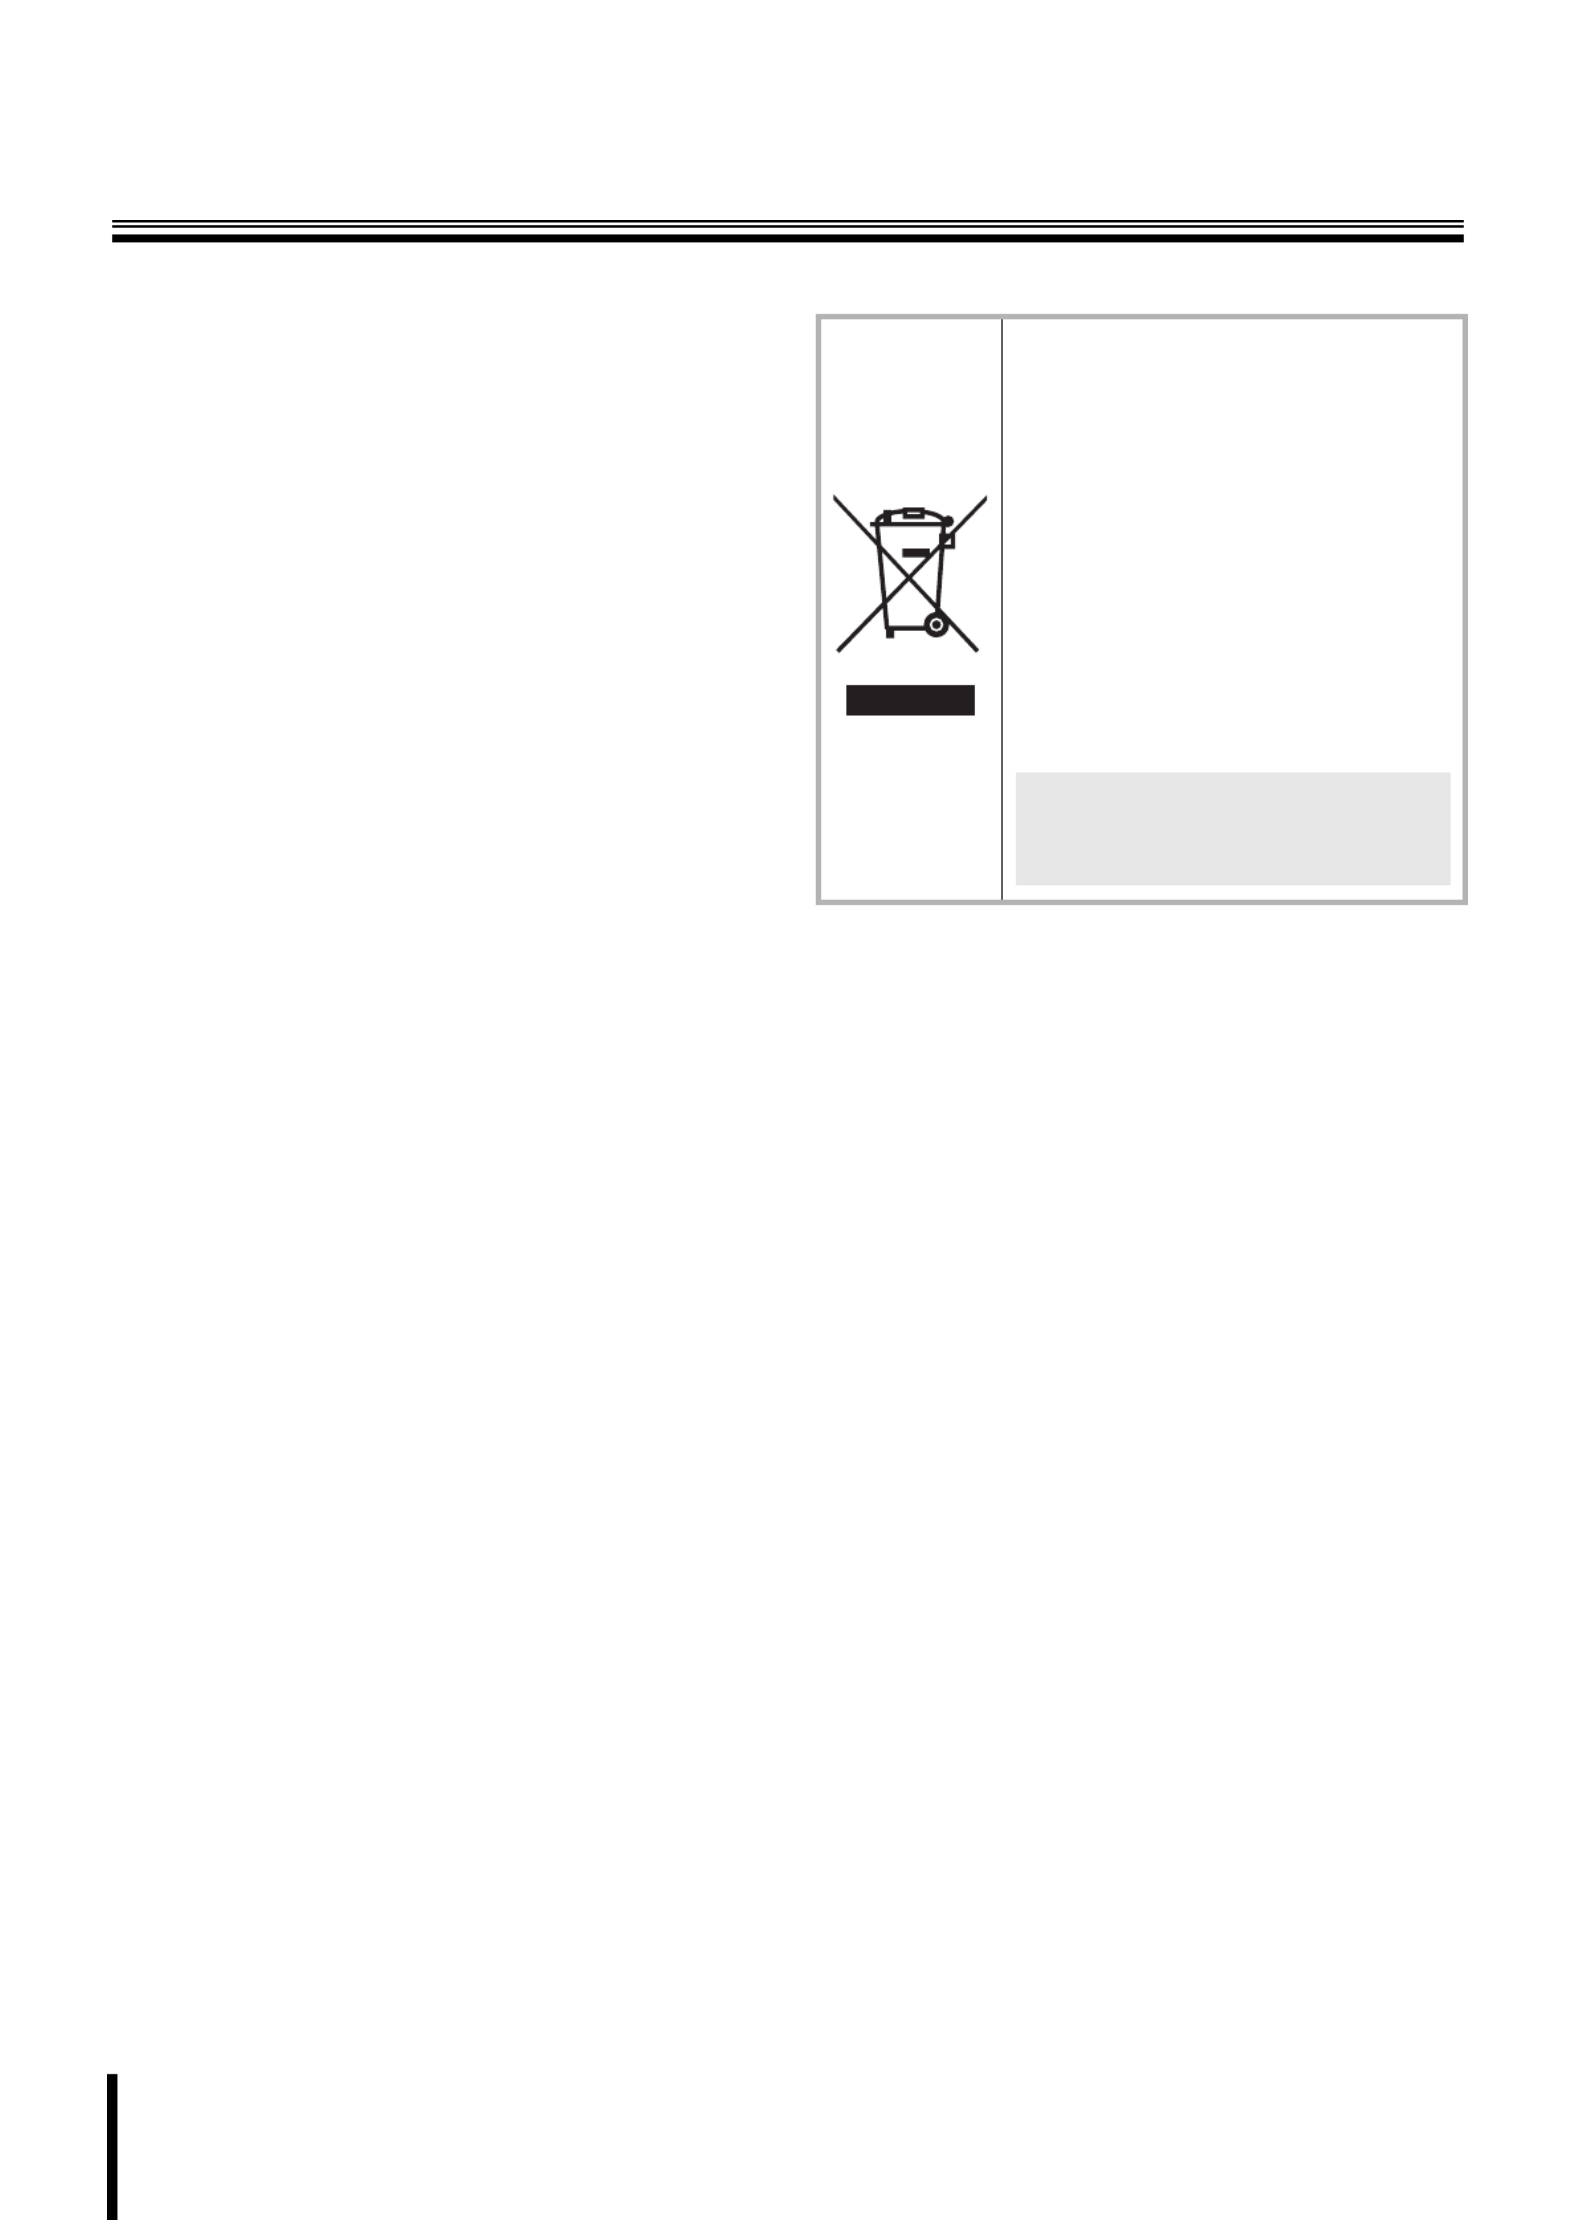
■WEEE Symbol Information
Please note:
Your SANYO product is designed and
manufactured with high quality materials and
components which can be recycled and
reused.
This symbol means that electrical and
electronic equipment, at their end-of-life,
should be disposed of separately from your
household waste.
Please dispose of this equipment at your local
community waste collection/recycling centre.
In the European Union there are separate
collection systems for used electrical and
electronic products.
Please help us to conserve the environment
we live in!
This symbol mark and recycle system
are applied only to EU countries and
not applied to the countries in the
other area of the world.

4
Before Using the Menu
1
Make connections with all equipment and turn them on.
When the power is turned on, the camera will perform its
startup movements. The camera’s address and other
information will be displayed on the monitor screen. After the
startup movements have been completed, live image will be
displayed.
The main screen appears on the touch panel of the system
controller.
2Press the [ADDRESS? ] button.
The address entering screen appears.
3Enter the camera’s address using the 10 key
buttons, and press the [enter] button.
The address (camera number) entered here is the one
specified with the address setting switches (A) and is
displayed on the monitor screen during the startup
movements.
4Press the [esc] button.
The main screen appears again.
5Press the [TO SUB SCREEN] button.
The sub screen appears.
6Press the [MENU] button in the sub screen.
The CAMERA MENU CONTROL screen appears.
7Press the [MENU] button in the CAMERA MENU
CONTROL screen.
The camera menu appears on the monitor screen.
CAMERA
LENS
PAN/TILT
AUTO MODE
PASSWORD
LANGUAGE
OPTION
ADVANCED MENU
PRESET
MENU
SET
SET
SET
SET
SET
SET
SET
SET
OFF
END
y
y
y
y
y
y
y
y
esc
del
enter
123
456
7 8
. 0
9
1
?
D a t u m : 0 0 0 0 0
0
0
0
00
0
0
00
0
0
00
0
0
00
0
0
0
00000
A c c e p t . v a l u e s
M a x 0 0 1 0 0
0
0
0
00
0
0
01
1
1
10
0
0
00
0
0
0
M i n 0 0 0 0 1
0
0
0
00
0
0
00
0
0
00
0
0
01
1
1
1
Digit
Camera nr.
Esc to exit
E
E
E
Es
s
s
sc
c
c
c
t
t
t
to
o
o
o
e
e
e
ex
x
x
xi
i
i
it
t
t
t
C A M 1 D V R 1
C
C
C
CA
A
A
AM
M
M
M
1
1
1
1
D
D
D
DV
V
V
VR
R
R
R
1
1
1
1
C A M 1 D V R 1
C
C
C
CA
A
A
AM
M
M
M
1
1
1
1
D
D
D
DV
V
V
VR
R
R
R
1
1
1
1
ALARM PLAY
R PLAY
RECALARM
PLAY STOP
PLAY
SPEED
REC STOP
SEQ
ON
PA N
ON
TOUR
ON
SEQ/
PAN/
TOUR
OFF
ONE PUSH
AF
FOCUS
FAR
FOCUS
NEAR
IRIS
CENTER
GO TO
PRESET
TO SUB
SCREEN
SYSTEM
SETUP
MAP
ENTER
PLAY
SPEED
IRIS
IRIS
ADDRESS ? DVR
MUX
ADDRESS ?
STILL
TIMER
ON/OFF
CLOCK
ADJUST
C A M 1 D V R 1
C
C
C
CA
A
A
AM
M
M
M
1
1
1
1
D
D
D
DV
V
V
VR
R
R
R
1
1
1
1
MENU
MENUCODE
SEQUENCE
AUDIO
MENU
RESET
TO
10 KEY
MAIN
MONITOR MON2
LOCK
UNLOCK
TO MAIN
SCREEN
ADDRESS ?
AWB
SET
AUX
ON
BLC
ON
ELS
ON
L-L
PHASE
L-L
PHASE
ELS
OFF
BLC
OFF
AUX
OFF
AWB
RESET
PRESET
MEMORY
ZOOM
PRESET
ON
ZOOM
PRESET
OFF
SEARCH
FR/FI
COPY EXIT/OSD ADDRESS ? DVR
ZOOM
CHANNEL
MENU
ENTER
esc
CAMERA MENU CONTROL
C
C
C
CA
A
A
AM
M
M
ME
E
E
ER
R
R
RA
A
A
A
M
M
M
ME
E
E
EN
N
N
NU
U
U
U
C
C
C
CO
O
O
ON
N
N
NT
T
T
TR
R
R
RO
O
O
OL
L
L
L
Esc to exit
E
E
E
Es
s
s
sc
c
c
c
t
t
t
to
o
o
o
e
e
e
ex
x
x
xi
i
i
it
t
t
t
CAM 2 DVR 1
C
C
C
CA
A
A
AM
M
M
M
2
2
2
2
D
D
D
DV
V
V
VR
R
R
R
1
1
1
1
12345678
ON
ONOFF
123456
ON
ONOFF
A
B
3
1
2
5
37
46
After installing the camera, use the menu to select camera operating options
and required functions according to your operating environment and
surveillance purpose. Use the system controller (VSP-9000) to perform menu
setting operations while viewing the menu on the monitor screen.
(The VAC-70, VSP-8500 also can be used to operate the camera.)
• To operate the system controller using the RS485 control method:
For system control setting switches (B), set the No.3 switch to the lower position
(OFF).
• To operate the system controller using the coaxial control method:
For system control setting switches (B), set the No.3 switch to the upper
position (ON).
When setting the address of the
camera, use numbers higher
than or equal to 1.
System controller
<Menu screen>
Monitor screen
<Main screen> <Sub screen>
Specyfikacje produktu
| Marka: | Sanyo |
| Kategoria: | Kamera monitorująca |
| Model: | VCC-MC800P |
Potrzebujesz pomocy?
Jeśli potrzebujesz pomocy z Sanyo VCC-MC800P, zadaj pytanie poniżej, a inni użytkownicy Ci odpowiedzą
Instrukcje Kamera monitorująca Sanyo

10 Września 2024
2 Września 2024
1 Września 2024
29 Sierpnia 2024
22 Sierpnia 2024
Instrukcje Kamera monitorująca
- Kamera monitorująca Sony
- Kamera monitorująca Samsung
- Kamera monitorująca Tenda
- Kamera monitorująca Motorola
- Kamera monitorująca Stabo
- Kamera monitorująca Logitech
- Kamera monitorująca Xiaomi
- Kamera monitorująca Braun
- Kamera monitorująca Pioneer
- Kamera monitorująca TP-Link
- Kamera monitorująca Philips
- Kamera monitorująca Bosch
- Kamera monitorująca Gigaset
- Kamera monitorująca Hikvision
- Kamera monitorująca EZVIZ
- Kamera monitorująca Conceptronic
- Kamera monitorująca Panasonic
- Kamera monitorująca Canon
- Kamera monitorująca Crestron
- Kamera monitorująca Withings
- Kamera monitorująca Asus
- Kamera monitorująca Nedis
- Kamera monitorująca AG Neovo
- Kamera monitorująca Reolink
- Kamera monitorująca Boss
- Kamera monitorująca TRENDnet
- Kamera monitorująca Marquant
- Kamera monitorująca Toshiba
- Kamera monitorująca D-Link
- Kamera monitorująca August
- Kamera monitorująca Niceboy
- Kamera monitorująca Ring
- Kamera monitorująca Garmin
- Kamera monitorująca Imou
- Kamera monitorująca Blaupunkt
- Kamera monitorująca Grundig
- Kamera monitorująca APC
- Kamera monitorująca Honeywell
- Kamera monitorująca BLOW
- Kamera monitorująca Manhattan
- Kamera monitorująca Strong
- Kamera monitorująca Swann
- Kamera monitorująca Kwikset
- Kamera monitorująca Kodak
- Kamera monitorująca Cisco
- Kamera monitorująca ORNO
- Kamera monitorująca Broan
- Kamera monitorująca Moxa
- Kamera monitorująca Synology
- Kamera monitorująca Gembird
- Kamera monitorująca ZTE
- Kamera monitorująca Turing
- Kamera monitorująca Lindy
- Kamera monitorująca Minox
- Kamera monitorująca Zebra
- Kamera monitorująca DSC
- Kamera monitorująca JVC
- Kamera monitorująca ZyXEL
- Kamera monitorująca Trust
- Kamera monitorująca LogiLink
- Kamera monitorująca Furrion
- Kamera monitorująca Linksys
- Kamera monitorująca Google
- Kamera monitorująca Digitus
- Kamera monitorująca Vimar
- Kamera monitorująca V-TAC
- Kamera monitorująca Dahua Technology
- Kamera monitorująca Schneider
- Kamera monitorująca Eufy
- Kamera monitorująca Ricoh
- Kamera monitorująca Emos
- Kamera monitorująca AVMATRIX
- Kamera monitorująca Renkforce
- Kamera monitorująca Rollei
- Kamera monitorująca Marshall
- Kamera monitorująca Perel
- Kamera monitorująca Somfy
- Kamera monitorująca Uniden
- Kamera monitorująca Netgear
- Kamera monitorująca Thomson
- Kamera monitorująca DiO
- Kamera monitorująca Velleman
- Kamera monitorująca Ferguson
- Kamera monitorująca DataVideo
- Kamera monitorująca Delta Dore
- Kamera monitorująca Pyle
- Kamera monitorująca Intellinet
- Kamera monitorująca CRUX
- Kamera monitorująca Setti+
- Kamera monitorująca Waeco
- Kamera monitorująca Vivotek
- Kamera monitorująca Vtech
- Kamera monitorująca Speco Technologies
- Kamera monitorująca EtiamPro
- Kamera monitorująca Edimax
- Kamera monitorująca Petcube
- Kamera monitorująca ION
- Kamera monitorująca First Alert
- Kamera monitorująca AirLive
- Kamera monitorująca Maginon
- Kamera monitorująca EnGenius
- Kamera monitorująca SPC
- Kamera monitorująca Planet
- Kamera monitorująca Brilliant
- Kamera monitorująca Genie
- Kamera monitorująca LevelOne
- Kamera monitorująca Axis
- Kamera monitorująca Lorex
- Kamera monitorująca Control4
- Kamera monitorująca Milesight
- Kamera monitorująca Aluratek
- Kamera monitorująca Abus
- Kamera monitorująca Elro
- Kamera monitorująca Olympia
- Kamera monitorująca Hama
- Kamera monitorująca Marmitek
- Kamera monitorująca Ubiquiti Networks
- Kamera monitorująca Western Digital
- Kamera monitorująca Netatmo
- Kamera monitorująca Schwaiger
- Kamera monitorująca Promise Technology
- Kamera monitorująca GVI Security
- Kamera monitorująca AVer
- Kamera monitorująca ZKTeco
- Kamera monitorująca Netis
- Kamera monitorująca Extech
- Kamera monitorująca Denver
- Kamera monitorująca Anker
- Kamera monitorująca Allnet
- Kamera monitorująca Marshall Electronics
- Kamera monitorująca Orion
- Kamera monitorująca Yale
- Kamera monitorująca SereneLife
- Kamera monitorująca Ernitec
- Kamera monitorująca AVerMedia
- Kamera monitorująca MEE Audio
- Kamera monitorująca Genius
- Kamera monitorująca Trevi
- Kamera monitorująca Technaxx
- Kamera monitorująca Atlona
- Kamera monitorująca Hanwha
- Kamera monitorująca Overmax
- Kamera monitorująca Quantum
- Kamera monitorująca Y-cam
- Kamera monitorująca Grandstream
- Kamera monitorująca Raymarine
- Kamera monitorująca Powerfix
- Kamera monitorująca Avanti
- Kamera monitorująca Ikan
- Kamera monitorująca Alecto
- Kamera monitorująca Avidsen
- Kamera monitorująca JUNG
- Kamera monitorująca Burg Wächter
- Kamera monitorująca Foscam
- Kamera monitorująca Lumens
- Kamera monitorująca Monacor
- Kamera monitorująca Dörr
- Kamera monitorująca M-e
- Kamera monitorująca EVE
- Kamera monitorująca Smartwares
- Kamera monitorująca Adj
- Kamera monitorująca Qian
- Kamera monitorująca Arenti
- Kamera monitorująca Elmo
- Kamera monitorująca Vitek
- Kamera monitorująca Alfatron
- Kamera monitorująca UniView
- Kamera monitorująca Clas Ohlson
- Kamera monitorująca Laserliner
- Kamera monitorująca Megasat
- Kamera monitorująca REVO
- Kamera monitorująca BZBGear
- Kamera monitorująca BirdDog
- Kamera monitorująca KJB Security Products
- Kamera monitorująca HiLook
- Kamera monitorująca Profile
- Kamera monitorująca Aldi
- Kamera monitorująca Aritech
- Kamera monitorująca Acti
- Kamera monitorująca ACME
- Kamera monitorująca Flamingo
- Kamera monitorująca Caliber
- Kamera monitorująca Eminent
- Kamera monitorująca Sitecom
- Kamera monitorująca Exibel
- Kamera monitorująca Fortinet
- Kamera monitorująca KlikaanKlikuit
- Kamera monitorująca Trebs
- Kamera monitorująca Ednet
- Kamera monitorująca Steren
- Kamera monitorująca Flir
- Kamera monitorująca Buffalo
- Kamera monitorująca Arlo
- Kamera monitorująca Nest
- Kamera monitorująca Siedle
- Kamera monitorująca Hive
- Kamera monitorująca Switel
- Kamera monitorująca Chacon
- Kamera monitorująca InFocus
- Kamera monitorująca Hombli
- Kamera monitorująca Naxa
- Kamera monitorująca Konig
- Kamera monitorująca Valueline
- Kamera monitorująca BRK
- Kamera monitorująca QSC
- Kamera monitorująca Xavax
- Kamera monitorująca Vaddio
- Kamera monitorująca Gira
- Kamera monitorująca Interlogix
- Kamera monitorująca Boyo
- Kamera monitorująca IC Intracom
- Kamera monitorująca Iget
- Kamera monitorująca EverFocus
- Kamera monitorująca Adesso
- Kamera monitorująca Satel
- Kamera monitorująca POSline
- Kamera monitorująca Notifier
- Kamera monitorująca Hawking Technologies
- Kamera monitorująca Friedland
- Kamera monitorująca Nexxt
- Kamera monitorująca Monoprice
- Kamera monitorująca Watec
- Kamera monitorująca Beafon
- Kamera monitorująca Chuango
- Kamera monitorująca ETiger
- Kamera monitorująca Videcon
- Kamera monitorująca INSTAR
- Kamera monitorująca Provision ISR
- Kamera monitorująca Aqara
- Kamera monitorująca Advantech
- Kamera monitorująca Digital Watchdog
- Kamera monitorująca Ganz
- Kamera monitorująca AViPAS
- Kamera monitorująca ClearOne
- Kamera monitorująca Ebode
- Kamera monitorująca Oplink
- Kamera monitorująca Sonic Alert
- Kamera monitorująca Linear PRO Access
- Kamera monitorująca Summer Infant
- Kamera monitorująca SMC
- Kamera monitorująca Topica
- Kamera monitorująca Kogan
- Kamera monitorująca Iiquu
- Kamera monitorująca Verint
- Kamera monitorująca Brinno
- Kamera monitorująca Rostra
- Kamera monitorująca Caddx
- Kamera monitorująca Spyclops
- Kamera monitorująca EKO
- Kamera monitorująca Kguard
- Kamera monitorująca Woonveilig
- Kamera monitorująca Mobi
- Kamera monitorująca Surveon
- Kamera monitorująca Hollyland
- Kamera monitorująca Epcom
- Kamera monitorująca Indexa
- Kamera monitorująca Lutec
- Kamera monitorująca Whistler
- Kamera monitorująca ClearView
- Kamera monitorująca VideoComm
- Kamera monitorująca IMILAB
- Kamera monitorująca 3xLOGIC
- Kamera monitorująca Pelco
- Kamera monitorująca Leviton
- Kamera monitorująca Inkovideo
- Kamera monitorująca Pentatech
- Kamera monitorująca Weldex
- Kamera monitorująca SecurityMan
- Kamera monitorująca Canyon
- Kamera monitorująca CNB Technology
- Kamera monitorująca Tapo
- Kamera monitorująca Aigis
- Kamera monitorująca Exacq
- Kamera monitorująca Brickcom
- Kamera monitorująca Laxihub
- Kamera monitorująca Securetech
- Kamera monitorująca EFB Elektronik
- Kamera monitorująca NetMedia
- Kamera monitorująca Videotec
- Kamera monitorująca Illustra
- Kamera monitorująca Nivian
- Kamera monitorująca E-bench
- Kamera monitorująca Syscom
- Kamera monitorująca Tecno
- Kamera monitorująca Night Owl
- Kamera monitorująca Guardzilla
- Kamera monitorująca Astak
- Kamera monitorująca Blink
- Kamera monitorująca Milestone Systems
- Kamera monitorująca Zavio
- Kamera monitorująca Campark
- Kamera monitorująca IPX
- Kamera monitorująca Dedicated Micros
- Kamera monitorująca Hamlet
- Kamera monitorująca Annke
- Kamera monitorująca AVTech
- Kamera monitorująca Qoltec
- Kamera monitorująca Approx
- Kamera monitorująca Digimerge
- Kamera monitorująca Wisenet
- Kamera monitorująca Infortrend
- Kamera monitorująca Epiphan
- Kamera monitorująca Mach Power
- Kamera monitorująca Compro
- Kamera monitorująca Aida
- Kamera monitorująca Ikegami
- Kamera monitorująca Accsoon
- Kamera monitorująca Vimtag
- Kamera monitorująca Gewiss
- Kamera monitorująca Alula
- Kamera monitorująca Insteon
- Kamera monitorująca Costar
- Kamera monitorująca ALC
- Kamera monitorująca Security Labs
- Kamera monitorująca Comtrend
- Kamera monitorująca Seneca
- Kamera monitorująca Avigilon
- Kamera monitorująca American Dynamics
- Kamera monitorująca Vosker
- Kamera monitorująca Sentry360
- Kamera monitorująca Bea-fon
- Kamera monitorująca Owltron
- Kamera monitorująca Enabot
- Kamera monitorująca Luis Energy
- Kamera monitorująca Sir Gawain
- Kamera monitorująca VisorTech
- Kamera monitorująca Atlantis Land
- Kamera monitorująca B & S Technology
- Kamera monitorująca I3International
- Kamera monitorująca IDIS
- Kamera monitorująca Ecobee
- Kamera monitorująca Conbrov
- Kamera monitorująca HuddleCamHD
- Kamera monitorująca Mobotix
- Kamera monitorująca IOIO
- Kamera monitorująca BIRDFY
- Kamera monitorująca I-PRO
- Kamera monitorująca DVDO
- Kamera monitorująca TCP
- Kamera monitorująca Bolin Technology
- Kamera monitorująca Nextech
Najnowsze instrukcje dla Kamera monitorująca

28 Stycznia 2025
25 Stycznia 2025
17 Stycznia 2025
17 Stycznia 2025
15 Stycznia 2025

13 Stycznia 2025

13 Stycznia 2025
13 Stycznia 2025

12 Stycznia 2025
12 Stycznia 2025