Instrukcja obsługi Kolink Big Chungus Hench
Kolink
Komputerowe przejęcie
Big Chungus Hench
Przeczytaj poniżej 📖 instrukcję obsługi w języku polskim dla Kolink Big Chungus Hench (2 stron) w kategorii Komputerowe przejęcie. Ta instrukcja była pomocna dla 6 osób i została oceniona przez 2 użytkowników na średnio 4.5 gwiazdek
Strona 1/2

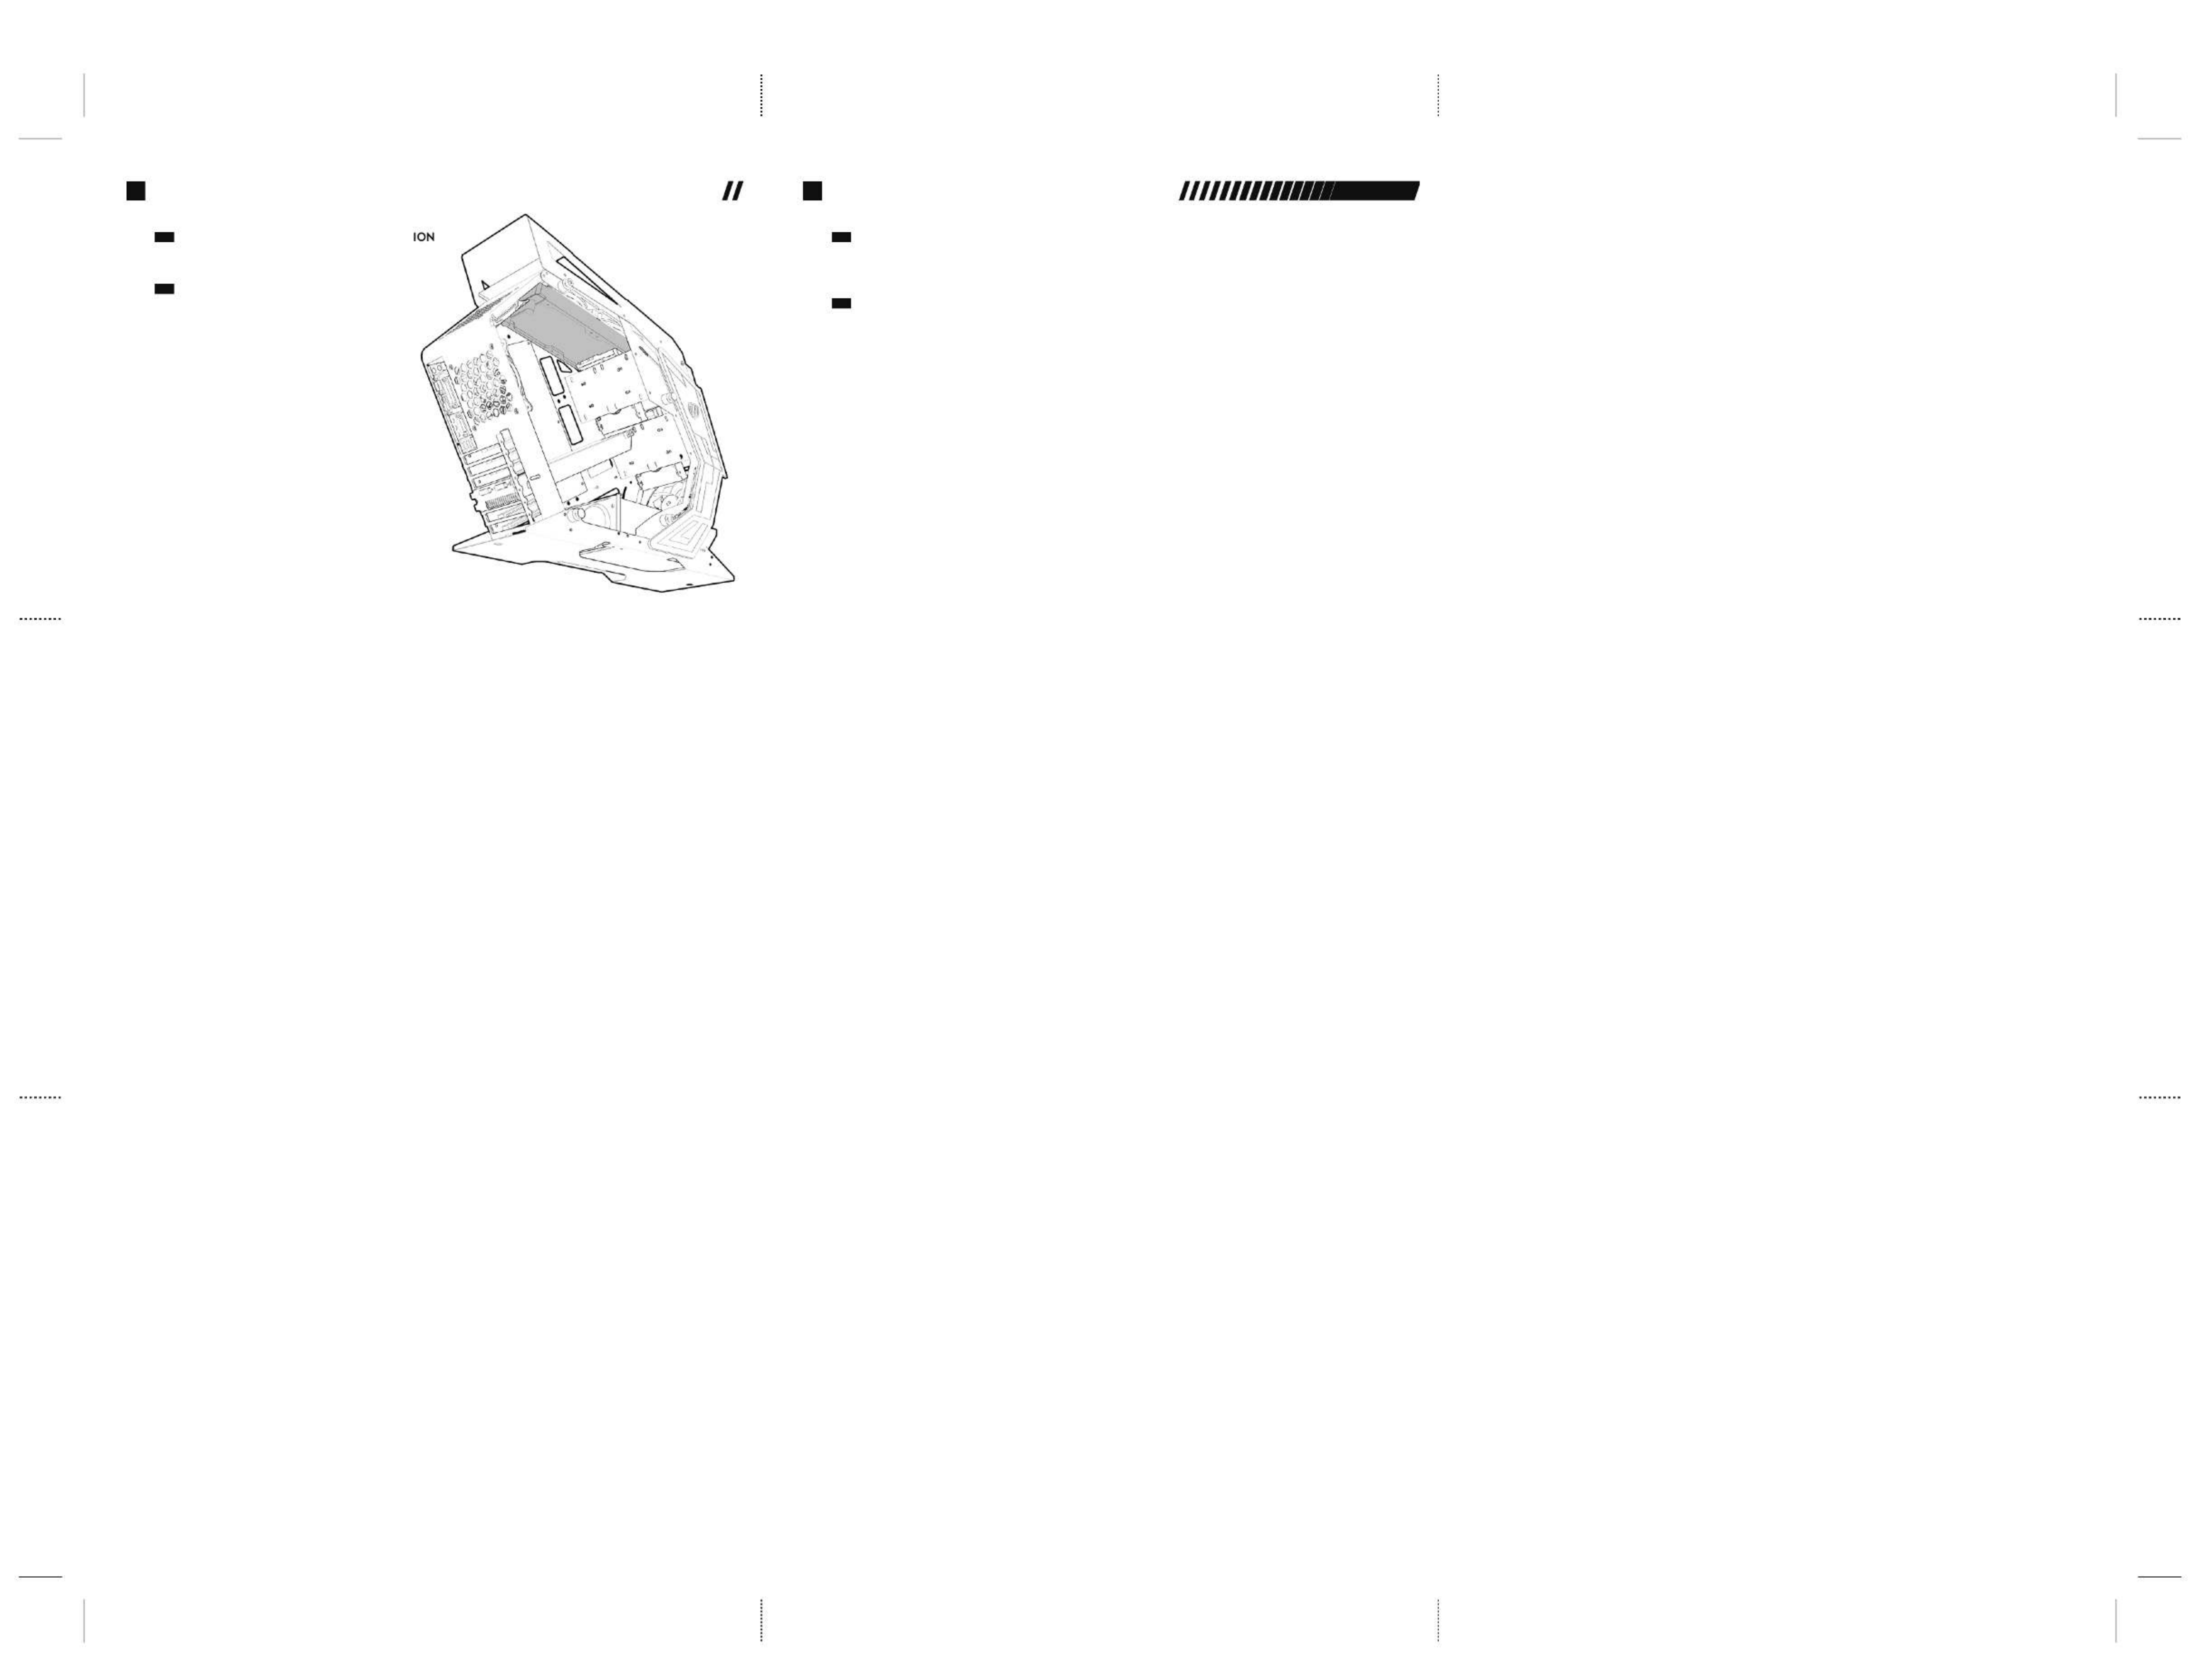
BIG CHUNGUS
HENCH
MIDI TOWER ARGB SHOWCASE
U S E R M A N U A L
• Left Panel - Remove from packaging and attach to the side panel in the
correct orientation using the supplied thumbscrews.
• Right Panel - Remove from packaging and attach to the side panel in the
correct orientation using the supplied thumbscrews.
• Front Panel - Unscrew from both sides if needed and lift away
(note, side panels must be removed first)
• Top Panel - Unscrew from both sides if needed and lift away
(note, side panels must be removed first)
PANEL REMOVAL
EN
• Linke Seitenwand: Aus der Verpackung nehmen, an der korrekten Seite mit den mitgelieferten Schrauben montieren
• Rechte Seitenwand: Aus der Verpackung nehmen, an der korrekten Seite mit den mitgelieferten Schrauben montieren
• Frontblende: Von beiden Seiten abschrauben und abheben (Achtung! Seitenwände müssen zuerst entfernt werden)
• Deckel: Von beiden Seiten abschrauben und abheben (Achtung! Seitenwände müssen zuerst entfernt werden)
ENTFERNEN DER SEITENTEILE
DE
• Align your motherboard with the chassis to locate where the stand-offs should
Once done, remove the motherboard and fasten stand-offs accordingly.
• Insert your motherboard I/O plate into the cutout at the rear of the case.
• Place your motherboard into the chassis, making sure the rear ports fit into the
• Use the provided motherboard screws to attach your motherboard to the chass
MOTHERBOARD INSTALLATION
EN
• Richte das Mainboard im Gehäuse aus, um festzustellen, wo die Abstandshalte
installiert werden sollen. Entferne nun das Mainboard wieder und befestige die
Abstandshalter entsprechend.
• Setzte das I/O-Panel des Mainboards in der Aussparung an der Rückseite des
Gehäuses ein.
• Platziere nun das Mainboard im Gehäuse. Stelle sicher, dass die Ports zu den
Ausschnitten im I/O-Panel passen.
• Nutze die mitgelieferten Schrauben des Mainboards, um es im Gehäuse zu
befestigen.
MAINBOARD INSTALLATION
DE
• Remove the rear PCI-E slot covers as necessary (depending on the
slot size of your card)
• Carefully position and slide your PCI-E card into place, then secure
with the add-on card screws supplied.
VIDEO CARD/PCI-E
CARD INSTALLATION
EN
• Entferne die hinteren Abdeckungen der PCI-E-Steckplätze (abhängig
von der Größe der Steckplätze der Grafikkarte).
• Setze die Grafikkarte vorsichtig ein und befestige sie mit den
mitgelieferten Schrauben für die Zusatzkarte.
INSTALLATION DER
GRAFIKKARTE/PCI-E-KARTE
DE
PANEL REMOVAL
2MOTHERBOARD INSTALLATION
3
GRAPHICS CARD/PCI-E CARD INSTALLATION
5
POWER SUPPLY INSTALLATION
4
• Entferne die PSU-Halterung vom Gehäuse, indem du die Schrauben löst.
• Richte die Bohrungen des Netzteils an der Halterung aus und befestige sie mit den Schrauben.
• Bringe die Halterung wieder am Gehäuse an und schraube sie fest.
INSTALLATION DES NETZTEILS
DE
• Remove the PSU bracket from the case by removing the screws
• Align the holes of your PSU to the bracket and secure with screws.
• Re-attach the bracket to the case and secure with screws.
POWER SUPPLY INSTALLATION
EN
• Richten Sie Ihren Lüfter an den Bohrungen am Gehäuse aus und sichern Sie ihn
mit den Schrauben, die dem Lüfter beiliegen.
INSTALLATION DES VORDER-
UND RÜCKSEITIGEN LÜFTERS
DE
• Align your fan to the screw holes on the chassis and secure with screws.
FRONT/REAR FAN INSTALLATION
EN
FRONT/REAR FAN INSTALLATION
8
• Schraube den Festplattenkäfig ab und nimm ihn aus dem Gehäuse heraus.
• Befestige die Festplatten oder SSDs mit den mitgelieferten Schrauben an der Halterung.
• Setze den Käfig wieder in das Gehäuse ein und schraube ihn wieder fest.
INSTALLATION DER 3.5"/2.5" FESTPLATTEN
DE
• Unscrew and remove the HDD bracket from the case.
• Attach your HDD's/SSD's to the bracket using the supplied screws.
• Insert the bracket back into the case and reattach using the screws from before.
3.5"/2.5" HDD INSTALLATION
EN
3.5"/2.5" HDD INSTALLATION
6
ACCESSORY PACK CONTENTS
1
x10 x1 x4
x5
Motherboard/SSD Screws Motherboard Stand-off 3.5” Drive ScrewPSU Screw
x5x9
Cable Tie
x9
Thumb Screw
• Richte die Lüfter an den Bohrungen am Deckel des Gehäuses aus und montiere sie mit Schrauben.
INSTALLATION DER OBEREN LÜFTER
DE
• Align your fan(s) to the screw holes on the top of the chassis and secure with screws.
TOP FAN INSTALLATION
EN
TOP FAN INSTALLATION
7
Rubber Grommet
• Befestigen Sie die Lüfter am Radiator und dann den Radiator im Inneren des Gehäuses,
indem Sie ihn mit Schrauben von außen befestigen.
INSTALLATION DES RADIATORS
DE
• Secure the fans to the radiator, then fasten the radiator inside the chassis by
securing with screws from the outside.
WATERCOOLING RADIATOR INSTALLAT
EN
WATERCOOLING RADIATOR INSTALLATION
9
• Überprüfen Sie sorgfältig die Beschriftung der einzelnen Stecker an den Kabeln des I/O-Panels,
um ihre Funktion zu identifizieren.
• Konsultieren Sie das Handbuch ihres Mainboards, um festzustellen, wohin jedes Kabel gehört und stecken
Sie sie nacheinander an. Bitte vergewissern Sie sich, dass sie richtig gepolt sind, um Fehlfunktionen oder
Beschädigungen zu vermeiden.
ANSCHLUSS DES I/O-PANELS
DE
• Carefully check the labelling of each connector from the I/O panel to identify their function.
• Cross reference with the motherboard manual to locate where each wire should be installed,
then secure one at a time. Please ensure they are installed in the correct polarity to
avoid non-function or damage.
I/O PANEL INSTALLATION
EN
I/O PANEL INSTALLATION
10
Specyfikacje produktu
| Marka: | Kolink |
| Kategoria: | Komputerowe przejęcie |
| Model: | Big Chungus Hench |
Potrzebujesz pomocy?
Jeśli potrzebujesz pomocy z Kolink Big Chungus Hench, zadaj pytanie poniżej, a inni użytkownicy Ci odpowiedzą
Instrukcje Komputerowe przejęcie Kolink

30 Marca 2025
12 Lutego 2025
12 Lutego 2025
12 Lutego 2025
12 Lutego 2025
12 Lutego 2025
12 Lutego 2025
12 Lutego 2025
12 Lutego 2025
12 Lutego 2025
Instrukcje Komputerowe przejęcie
- Komputerowe przejęcie Joy-It
- Komputerowe przejęcie Supermicro
- Komputerowe przejęcie Gigabyte
- Komputerowe przejęcie StarTech.com
- Komputerowe przejęcie Asus
- Komputerowe przejęcie MSI
- Komputerowe przejęcie Genesis
- Komputerowe przejęcie Akasa
- Komputerowe przejęcie Cooler Master
- Komputerowe przejęcie Icy Box
- Komputerowe przejęcie Dell
- Komputerowe przejęcie Corsair
- Komputerowe przejęcie NZXT
- Komputerowe przejęcie FSP
- Komputerowe przejęcie Cougar
- Komputerowe przejęcie Phanteks
- Komputerowe przejęcie Razer
- Komputerowe przejęcie ADATA
- Komputerowe przejęcie Antec
- Komputerowe przejęcie ModeCom
- Komputerowe przejęcie Sharkoon
- Komputerowe przejęcie DeepCool
- Komputerowe przejęcie Chenbro Micom
- Komputerowe przejęcie 3M
- Komputerowe przejęcie XPG
- Komputerowe przejęcie IStarUSA
- Komputerowe przejęcie Silverstone
- Komputerowe przejęcie Thermaltake
- Komputerowe przejęcie Fractal Design
- Komputerowe przejęcie Be Quiet!
- Komputerowe przejęcie HYTE
- Komputerowe przejęcie Savio
- Komputerowe przejęcie Zotac
- Komputerowe przejęcie Lian Li
- Komputerowe przejęcie Techly
- Komputerowe przejęcie Intel
- Komputerowe przejęcie Monoprice
- Komputerowe przejęcie Zalman
- Komputerowe przejęcie Advantech
- Komputerowe przejęcie Evnbetter
- Komputerowe przejęcie Xigmatek
- Komputerowe przejęcie Akyga
- Komputerowe przejęcie Rosewill
- Komputerowe przejęcie AeroCool
- Komputerowe przejęcie Krux
- Komputerowe przejęcie 3R System
- Komputerowe przejęcie SilentiumPC
- Komputerowe przejęcie AZZA
- Komputerowe przejęcie Middle Atlantic
- Komputerowe przejęcie CoolerMaster
- Komputerowe przejęcie Montech
- Komputerowe przejęcie Jonsbo
- Komputerowe przejęcie Leba
- Komputerowe przejęcie Hoffman
Najnowsze instrukcje dla Komputerowe przejęcie
9 Kwietnia 2025
7 Kwietnia 2025
5 Kwietnia 2025

3 Kwietnia 2025
1 Kwietnia 2025
1 Kwietnia 2025
1 Kwietnia 2025
30 Marca 2025

29 Marca 2025
28 Marca 2025