Instrukcja obsługi NEC AccuSync ASLCD71V
Przeczytaj poniżej 📖 instrukcję obsługi w języku polskim dla NEC AccuSync ASLCD71V (44 stron) w kategorii monitor. Ta instrukcja była pomocna dla 4 osób i została oceniona przez 2 użytkowników na średnio 4.5 gwiazdek
Strona 1/44

AccuSyncTM LCD51VM/LCD71VM

Warning .................................................................................................................... 1
Contents ................................................................................................................. 2
Quick Start ............................................................................................................. 3
Controls ...................................................................................................................7
Recommended Use.............................................................................................. 10
Specifications .......................................................................................................12
Features ............................................................................................................... 14
Troubleshooting ................................................................................................... 15
References.............................................................................................................16
Limited Warranty................................................................................................. 17
TCO ‘99 .................................................................................................................. 18
Avertissement ......................................................................................................21
Contenu................................................................................................................. 22
Mise en marche rapide ...................................................................................... 23
Commandes .......................................................................................................... 27
Usage recommandé ............................................................................................ 30
Spécifications ...................................................................................................... 32
Fonctions ............................................................................................................. 34
Dépannage ............................................................................................................ 35
Références ........................................................................................................... 36
Garantie limitée .................................................................................................. 37
TCO ‘99 .................................................................................................................. 38
Index
1
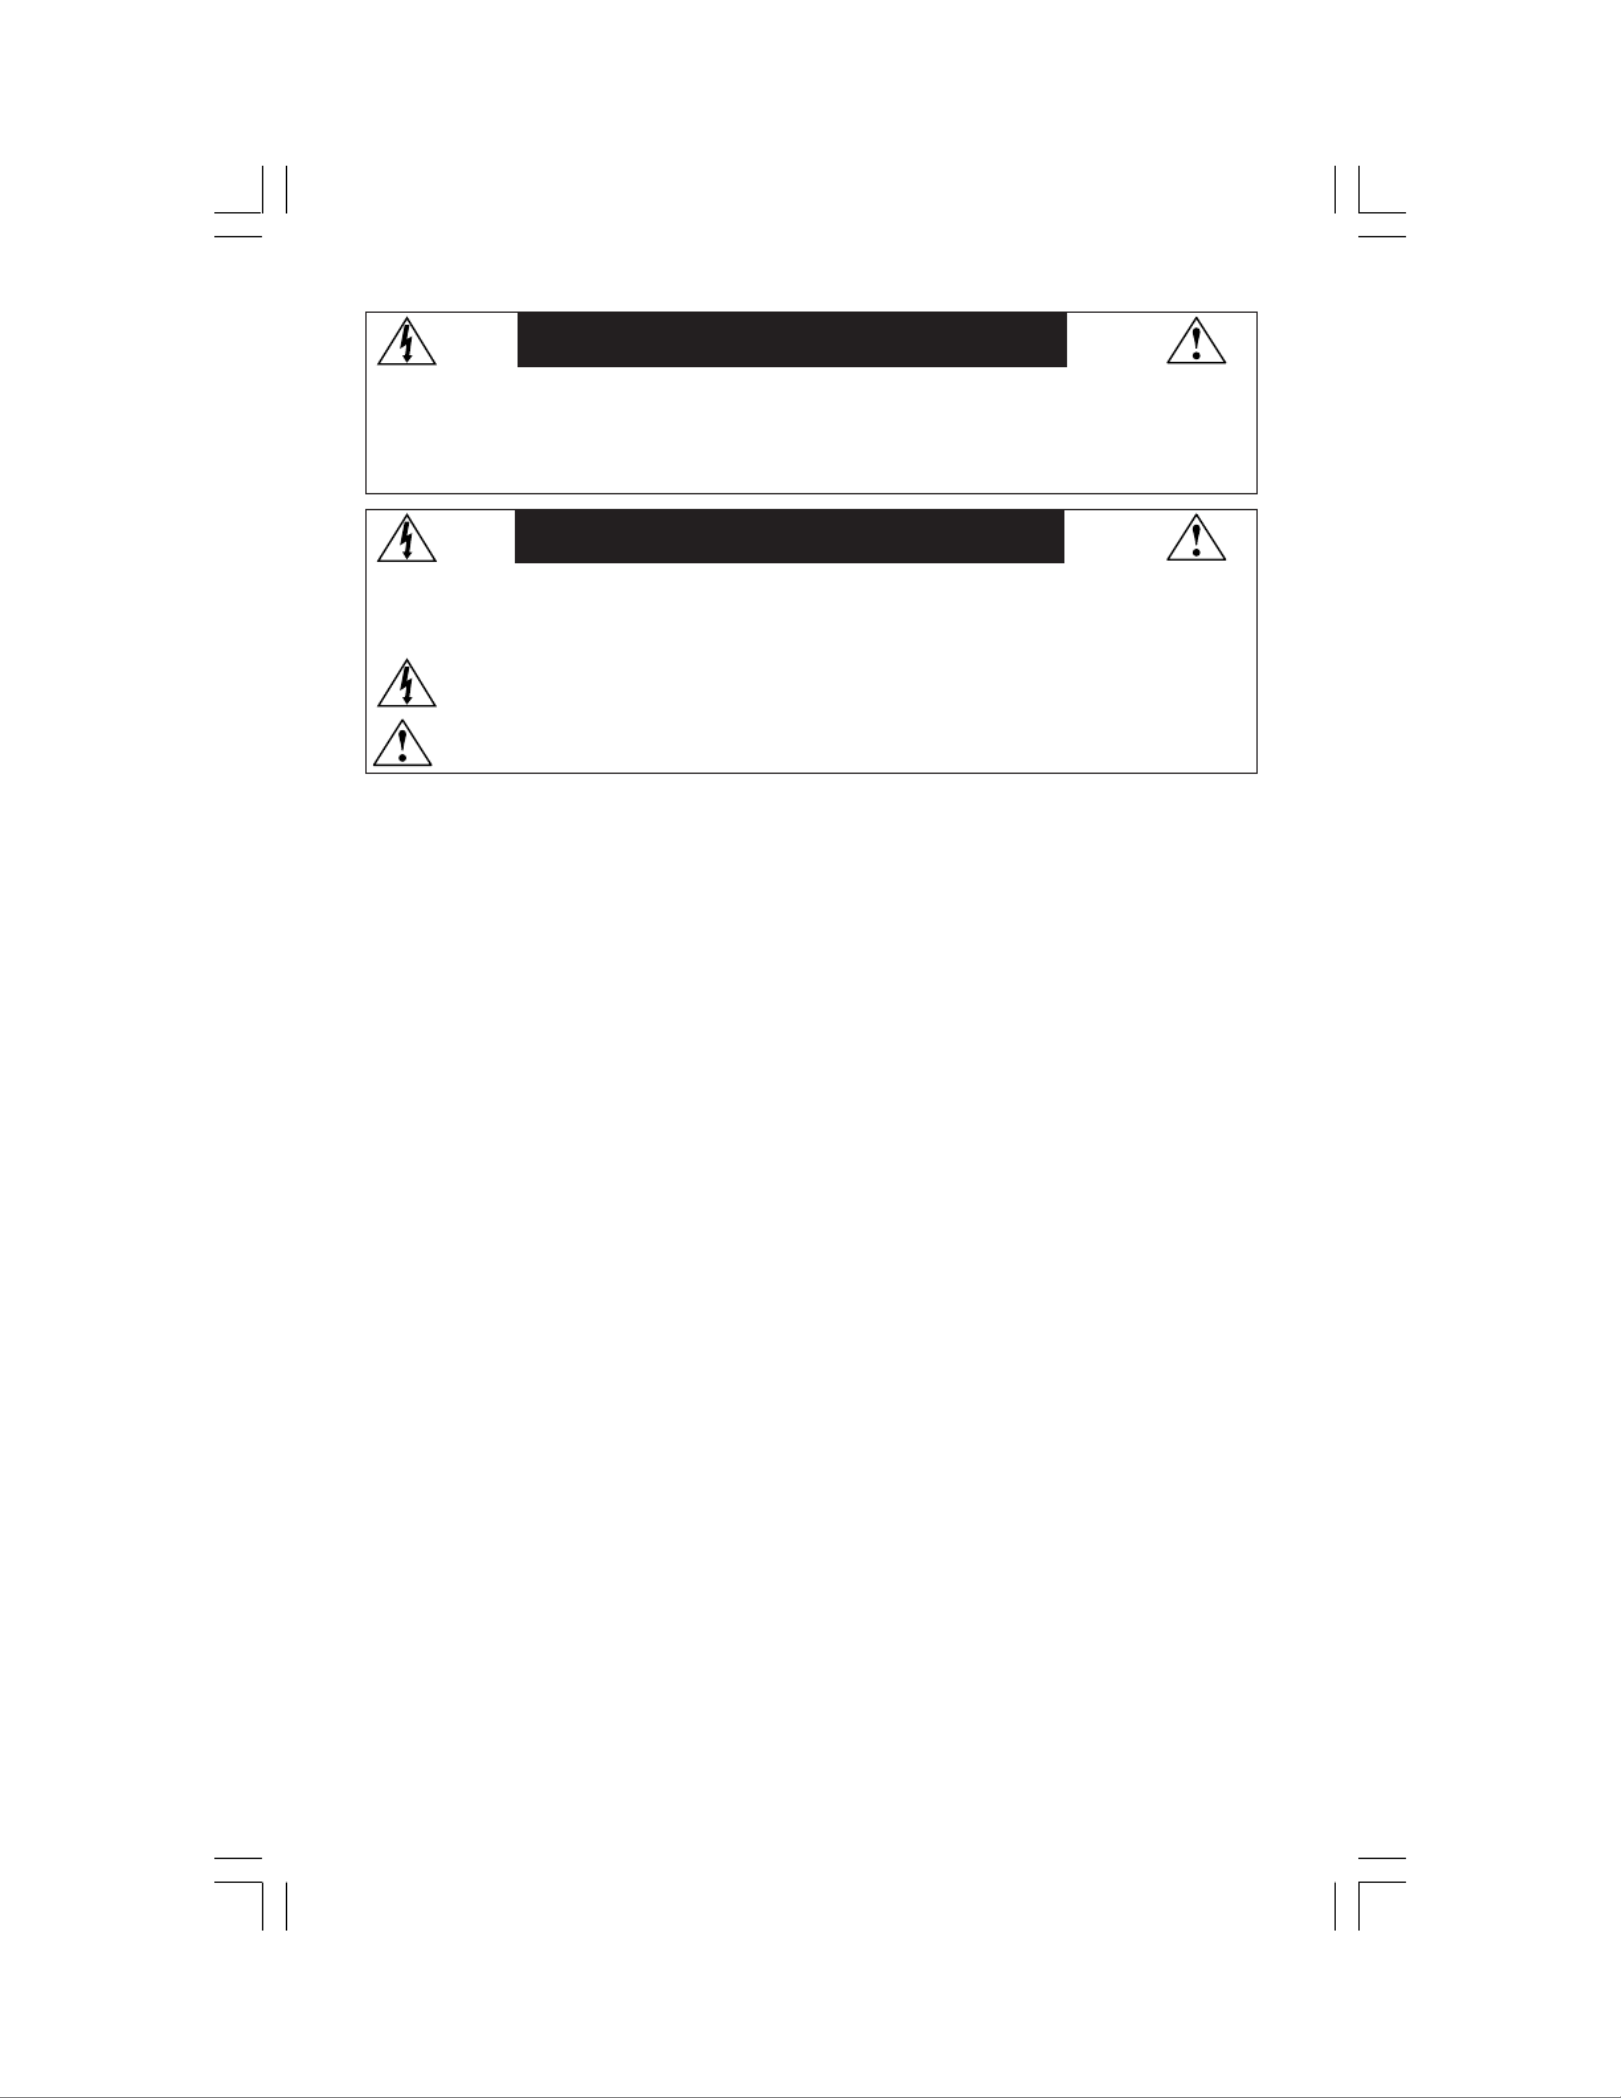
CAUTION: TO REDUCE THE RISK OF ELECTRIC SHOCK, MAKE SURE POWER CORD IS UNPLUGGED FROM
WALL SOCKET. TO FULLY DISENGAGE THE POWER TO THE UNIT, PLEASE DISCONNECT THE POWER
CORD FROM THE AC OUTLET. DO NOT REMOVE COVER (OR BACK). NO USER SERVICEABLE PARTS
INSIDE. REFER SERVICING TO QUALIFIED SERVICE PERSONNEL.
This
symbol warns user that uninsulated voltage within the unit may have sufficient magnitude to cause
electric shock. Therefore, it is dangerous to make any kind of contact with any part inside this unit.
This symbol alerts the user that important literature concerning the operation and maintenance of this
unit has been included. Therefore, it should be read carefully in order to avoid any problems.
WARNING
CAUTION
Canadian Department of Communications Compliance Statement
DOC: This Class B digital apparatus meets all requirements of the Canadian
Interference-Causing Equipment Regulations.
C-UL: Bears the C-UL Mark and is in compliance with Canadian Safety Regulations
according to CAN/CSA C22.2 No. 60950.
FCC Information
1.
Use the attached specified cables with the
AccuSync LCD51VM (L152R5) or AccuSync
LCD71VM (L172R6)
color monitor so as not to interfere with radio and television reception.
(1)
Please use the supplied power cord or equivalent to ensure FCC compliance.
(2) Please use the supplied shielded video signal cable.
Use of other cables and adapters may cause interference with radio and
television reception.
2.
This equipment has been tested and found to comply with the limits for a Class B digital
device, pursuant to part 15 of the FCC Rules. These limits are designed to provide
reasonable protection against harmful interference in a residential installation. This
equipment generates, uses, and can radiate radio frequency energy, and, if not installed
and used in accordance with the instructions, may cause harmful interference to radio
communications. However, there is no guarantee that interference will not occur in a
particular installation. If this equipment does cause harmful interference to radio or
television reception, which can be determined by turning the equipment off and on, the user
is encouraged to try to correct the interference by one or more of the following measures:
• Reorient or relocate the receiving antenna.
• Increase the separation between the equipment and receiver.
• Connect the equipment into an outlet on a circuit different from that to which the receiver
is connected.
• Consult your dealer or an experienced radio/TV technician for help.
If necessary, the user should contact the dealer or an experienced radio/television technician
for additional suggestions. The user may find the following booklet, prepared by the Federal
Communications Commission, helpful: ”How to Identify and Resolve Radio-TV Interference
Problems.“ This booklet is available from the U.S. Government Printing Office, Washington,
D.C., 20402, Stock No. 004-000-00345-4.
TO PREVENT FIRE OR SHOCK HAZARDS, DO NOT EXPOSE THIS UNIT TO RAIN OR MOISTURE. ALSO, DO NOT USE
THIS UNIT'S POLARIZED PLUG WITH AN EXTENSION CORD RECEPTACLE OR OTHER OUTLETS UNLESS THE PRONGS
CAN BE FULLY INSERTED.
REFRAIN FROM OPENING THE CABINET AS THERE ARE HIGH VOLTAGE COMPONENTS INSIDE. REFER SERVICING
TO QUALIFIED SERVICE PERSONNEL.
AS5171VMManual042403.p65 5/6/03, 10:05 AM1
Specyfikacje produktu
| Marka: | NEC |
| Kategoria: | monitor |
| Model: | AccuSync ASLCD71V |
Potrzebujesz pomocy?
Jeśli potrzebujesz pomocy z NEC AccuSync ASLCD71V, zadaj pytanie poniżej, a inni użytkownicy Ci odpowiedzą
Instrukcje monitor NEC

11 Lutego 2025
11 Lutego 2025
11 Lutego 2025
10 Stycznia 2025
31 Grudnia 2025
31 Grudnia 2025
31 Grudnia 2025
14 Października 2024
11 Października 2024
9 Października 2024
Instrukcje monitor
- monitor Sony
- monitor Yamaha
- monitor Samsung
- monitor PeakTech
- monitor UPERFECT
- monitor LG
- monitor Xiaomi
- monitor Joy-It
- monitor Sharp
- monitor Huawei
- monitor TCL
- monitor Pioneer
- monitor Lenovo
- monitor Philips
- monitor Plantronics
- monitor SilverCrest
- monitor Gigabyte
- monitor Acer
- monitor Bosch
- monitor Epson
- monitor JBL
- monitor Hikvision
- monitor Fujitsu
- monitor HyperX
- monitor LC-Power
- monitor Hisense
- monitor Panasonic
- monitor Promethean
- monitor Canon
- monitor Crestron
- monitor Viewsonic
- monitor Behringer
- monitor Asus
- monitor AG Neovo
- monitor Allen & Heath
- monitor IK Multimedia
- monitor Medion
- monitor Boss
- monitor Marquant
- monitor MSI
- monitor Toshiba
- monitor Tesla
- monitor Westinghouse
- monitor Jensen
- monitor Yealink
- monitor Ring
- monitor Garmin
- monitor Blaupunkt
- monitor Salora
- monitor Iiyama
- monitor Citizen
- monitor APC
- monitor Haier
- monitor HP
- monitor Hyundai
- monitor Honeywell
- monitor Chauvet
- monitor Tripp Lite
- monitor Shure
- monitor Cisco
- monitor Xerox
- monitor Smart
- monitor Cooler Master
- monitor Alpine
- monitor Godox
- monitor Dynaudio
- monitor Deltaco
- monitor JVC
- monitor V7
- monitor Dell
- monitor IFM
- monitor Corsair
- monitor Alesis
- monitor Vimar
- monitor Dahua Technology
- monitor Schneider
- monitor Eurolite
- monitor Ricoh
- monitor SMART Technologies
- monitor NZXT
- monitor Emos
- monitor Renkforce
- monitor Marshall
- monitor Viessmann
- monitor Omron
- monitor Thomson
- monitor Velleman
- monitor Neumann
- monitor DataVideo
- monitor Danfoss
- monitor Pyle
- monitor Apple
- monitor Newline
- monitor Waeco
- monitor AOC
- monitor Peerless-AV
- monitor Speco Technologies
- monitor Samson
- monitor PreSonus
- monitor ARRI
- monitor Kindermann
- monitor Olympus
- monitor Mitsubishi
- monitor Fluid
- monitor Razer
- monitor ART
- monitor Continental Edison
- monitor RCF
- monitor Brandson
- monitor Prestigio
- monitor OSEE
- monitor Sanyo
- monitor Elvid
- monitor Optoma
- monitor Focal
- monitor Asrock
- monitor Monkey Banana
- monitor Abus
- monitor AMCV
- monitor Jay-Tech
- monitor Mackie
- monitor Palmer
- monitor Barco
- monitor Insignia
- monitor AVer
- monitor Akuvox
- monitor 3M
- monitor Element
- monitor Denver
- monitor Marshall Electronics
- monitor Orion
- monitor Hitachi
- monitor Postium
- monitor Kali Audio
- monitor IStarUSA
- monitor Seiki
- monitor Ernitec
- monitor Wohler
- monitor SmallHD
- monitor AJA
- monitor KRK
- monitor BenQ
- monitor Atlona
- monitor Thermaltake
- monitor Simrad
- monitor Hanwha
- monitor Odys
- monitor Elo
- monitor Ikan
- monitor BOOX
- monitor JUNG
- monitor Burg Wächter
- monitor Eizo
- monitor Monacor
- monitor Aputure
- monitor Daewoo
- monitor Tannoy
- monitor GVision
- monitor Positivo
- monitor Adj
- monitor Freedom Scientific
- monitor SPL
- monitor Qian
- monitor I3-Technologies
- monitor Stairville
- monitor Vitek
- monitor Planar
- monitor Mobile Pixels
- monitor REVO
- monitor Atomos
- monitor Newstar
- monitor SWIT
- monitor Kramer
- monitor RGBlink
- monitor AMX
- monitor Midas
- monitor Alienware
- monitor Archos
- monitor Acti
- monitor Emachines
- monitor Caliber
- monitor Maxdata
- monitor Sunstech
- monitor GlobalTronics
- monitor Sunny
- monitor BlueBuilt
- monitor Da-Lite
- monitor ProXtend
- monitor Kubo
- monitor GeoVision
- monitor LaCie
- monitor InFocus
- monitor Festo
- monitor Konig
- monitor Swissonic
- monitor IHealth
- monitor Peaq
- monitor QSC
- monitor Hannspree
- monitor ESI
- monitor Avocor
- monitor Vivitek
- monitor Genelec
- monitor Interlogix
- monitor Vorago
- monitor EverFocus
- monitor POSline
- monitor Peerless
- monitor M-Audio
- monitor Mad Catz
- monitor Krom
- monitor Monoprice
- monitor Eve Audio
- monitor Yorkville
- monitor HoverCam
- monitor Voxicon
- monitor Sonifex
- monitor TV One
- monitor Fostex
- monitor Prowise
- monitor Terra
- monitor Neets
- monitor Soundstream
- monitor Xoro
- monitor HKC
- monitor CTOUCH
- monitor Ozone
- monitor Ibm
- monitor Maxell
- monitor Packard Bell
- monitor Provision ISR
- monitor Mybeo
- monitor CSL
- monitor Bearware
- monitor Drawmer
- monitor Blue Sky
- monitor Zalman
- monitor Iadea
- monitor Advantech
- monitor Hercules
- monitor Avantone Pro
- monitor Ganz
- monitor TVLogic
- monitor Gamber-Johnson
- monitor Extron
- monitor Neat
- monitor Legamaster
- monitor Belinea
- monitor Adam
- monitor Triton
- monitor ITek
- monitor Kogan
- monitor Posiflex
- monitor Antelope Audio
- monitor MicroTouch
- monitor X-Rite
- monitor EKO
- monitor ONYX
- monitor IBoardTouch
- monitor Mirai
- monitor Elite Screens
- monitor Hollyland
- monitor Mitsai
- monitor Christie
- monitor Skytronic
- monitor Enttec
- monitor Feelworld
- monitor Phoenix Contact
- monitor COMMBOX
- monitor Yiynova
- monitor Alogic
- monitor Pelco
- monitor Lilliput
- monitor LightZone
- monitor AOpen
- monitor Planet Audio
- monitor EC Line
- monitor Datacolor
- monitor HELGI
- monitor Desview
- monitor Syscom
- monitor Allsee
- monitor Night Owl
- monitor ProDVX
- monitor Varad
- monitor PureTools
- monitor DoubleSight
- monitor CTL
- monitor Game Factor
- monitor Nixeus
- monitor Chimei
- monitor Blue Sea
- monitor Faytech
- monitor Hamlet
- monitor Wyse - Dell
- monitor Approx
- monitor Bauhn
- monitor GeChic
- monitor Oecolux
- monitor ADS-TEC
- monitor Satco
- monitor Casalux
- monitor Jupiter
- monitor Transvideo
- monitor Innocn
- monitor KeepOut
- monitor Shimbol
- monitor Raysgem
- monitor Motrona
- monitor Ikegami
- monitor AORUS
- monitor Portkeys
- monitor Mimo Monitors
- monitor American Dynamics
- monitor AIS
- monitor Wortmann AG
- monitor Viotek
- monitor Vidi-Touch
- monitor KTC
- monitor CoolerMaster
- monitor Atlantis Land
- monitor HEDD
- monitor Colormetrics
- monitor IOIO
- monitor DTEN
- monitor Cocopar
- monitor Titan Army
- monitor Xenarc
- monitor Delvcam
- monitor Wimaxit
- monitor BookIT
- monitor SideTrak
- monitor TRIUMPH BOARD
- monitor Japannext
Najnowsze instrukcje dla monitor

1 Kwietnia 2025

1 Kwietnia 2025

30 Marca 2025
30 Marca 2025
30 Marca 2025
30 Marca 2025
30 Marca 2025
30 Marca 2025
30 Marca 2025
30 Marca 2025