Instrukcja obsługi Extech SDL310
Przeczytaj poniżej 📖 instrukcję obsługi w języku polskim dla Extech SDL310 (11 stron) w kategorii multimetr. Ta instrukcja była pomocna dla 6 osób i została oceniona przez 2 użytkowników na średnio 4.5 gwiazdek
Strona 1/11
USER GUIDE
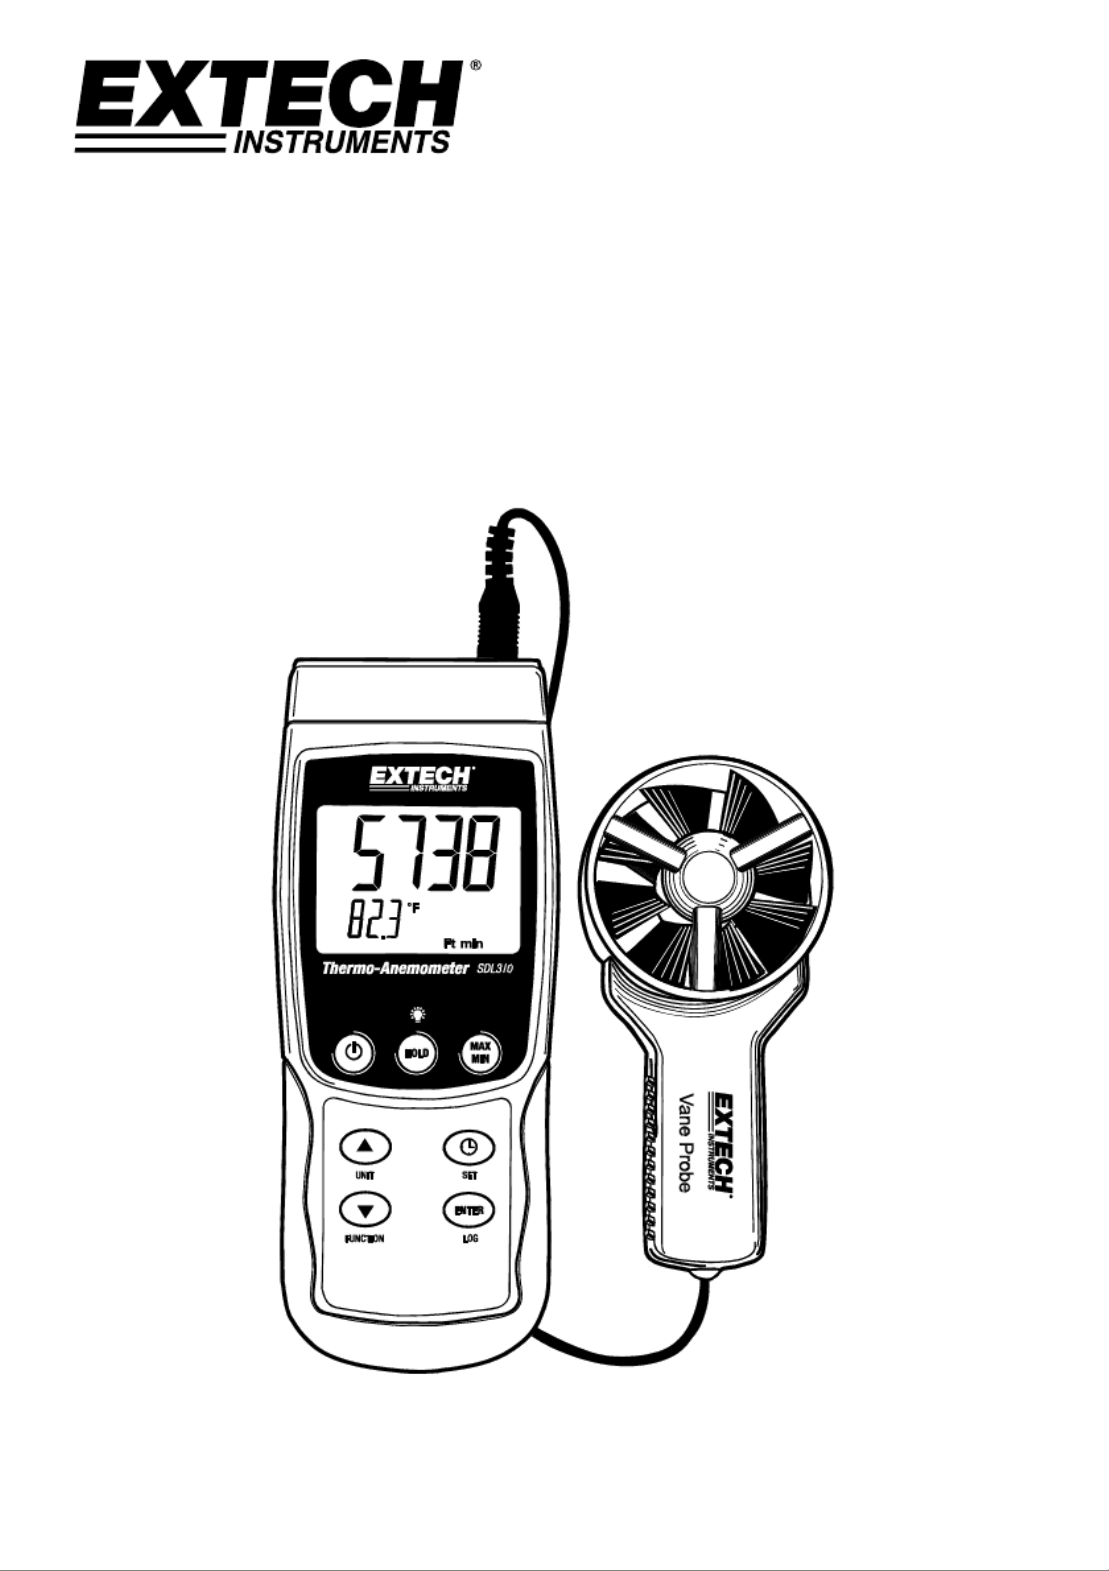
Vane Thermo-Anemometer /
Datalogger
Model SDL310

2 SDL310-EU-EN V1.4 07/13
Introduction
Congratulations on your purchase of the Extech SDL310 Thermo-Anemometer Datalogger. This meter
displays and stores air velocity and temperature readings. Temperature readings from the
thermometer built into the vane probe or from an externally connected type K or J thermocouple
temperature probe can be displayed and recorded. Data is stored on an SD card for transfer to a PC.
In addition, an RS232 port allows data streaming to a PC. This instrument is shipped fully tested and
calibrated and, with proper use, will provide years of reliable service. Please visit the Extech
Instruments website (www.extech.com) to check for the latest version of this User Guide. Extech
Instruments is an ISO-9001 certified company.
Safety
International Safety Symbols
This symbol, adjacent to another symbol or terminal, indicates the user must refer to the
manual for further information.
Meter Description
1. Thermocouple input
2. Vane input plug
3. Air velocity reading
4. Units of measure
5. HOLD / Backlight key
6. MAX-MIN key
7. SET and Clock key
8. PC interface jack
9. Reset key
10. Power Adaptor jack
11. SD card slot
12. ENTER and LOG key
13. Down ▼arrow and FUNCTION key
14. Up ▲ arrow and UNITS key
15. Power ON-OFF key
16. Temperature reading with units of measure
17. Anemometer vane
18. Colored dot faces the air flow
19. Vane handle
20. Vane connecting cable
Notes:
Battery compartment, tilt stand, and tripod mount are located on the rear of the instrument.
Items 8, 9, and 10 are located behind the snap-off compartment cover on right side of meter.

3 SDL310-EU-EN V1.4 07/13
Operation
Power ON-OFF
Power the meter by pressing and holding the power key for at least 1.5 seconds.
Press and hold the power key for at least 1.5 seconds to power OFF the meter.
Meter Functions
This meter has two modes of operation. Press and hold the FUNCTION key for at least 1.5 seconds
to switch from one mode to the other.
Air Velocity plus Temperature mode (meter briefly displays An icon)
Type K or J thermocouple temperature mode (meter briefly displays tP icon)
Air Velocity plus Temperature Mode
1. Select the Air Velocity and Temperature mode.
2. Connect the vane probe to the meter’s probe jack (top right of meter) via the probe plug.
3. Hold the probe by its handle and allow the air flow to enter the vane. Note that the air flow must
face the vane’s colored dot.
4. The meter will display the air velocity measurement (upper display area) and the air
temperature (lower display area)
Changing the Air Velocity Unit of Measure
This meter offers five (5) units of measure selections for air velocity: m/s (meters per second), FPM
(feet per minute), Km/h (kilometers per hour), knots, and mph (miles per hour).
1. Press and hold the UNIT key for at least 1.5 seconds to switch from one unit of measure to
another.
2. Note that pressing and holding the UNIT key continuously allows for quicker scrolling. Release
the key when the desired unit of measure is displayed.
Thermcouple (Type J or K) Temperature Mode
1. Select the Thermocouple Temperature mode using the FUNCTION button.
2. The meter will display a ‘J’ or a ‘K’; on the left side of the display indicating the current setting.
To change the thermocouple type, refer to the Setup Mode section.
3. Connect a Type J or Type K thermocouple to the meter’s sub-miniature thermocouple jack (top
of meter on the left).
4. Hold the thermocouple in the air in the area to be tested.
5. The meter will display the thermocouple temperature in the main display area.
6. To change the temperature unit of measure (°C and °F) refer to the Setup Mode section.
Data Hold
To freeze a measurement on the display, press the HOLD key momentarily. The meter will emit a
beep, the reading will hold, and the HOLD display icon will switch on. Press the HOLD key again to
release the display and exit the Data Hold mode returning the meter to the normal operating mode.
Specyfikacje produktu
| Marka: | Extech |
| Kategoria: | multimetr |
| Model: | SDL310 |
Potrzebujesz pomocy?
Jeśli potrzebujesz pomocy z Extech SDL310, zadaj pytanie poniżej, a inni użytkownicy Ci odpowiedzą
Instrukcje multimetr Extech

22 Grudnia 2024
29 Września 2024
29 Września 2024
29 Września 2024
29 Września 2024
24 Września 2024
19 Września 2024
18 Września 2024
14 Września 2024
14 Września 2024
Instrukcje multimetr
- multimetr PeakTech
- multimetr Joy-It
- multimetr Voltcraft
- multimetr Milwaukee
- multimetr Yato
- multimetr Parkside
- multimetr GW Instek
- multimetr Stanley
- multimetr Silverline
- multimetr Testo
- multimetr Aim TTi
- multimetr TFA
- multimetr Chauvin Arnoux
- multimetr Gembird
- multimetr Uni-T
- multimetr Owon
- multimetr Biltema
- multimetr Digitus
- multimetr Vimar
- multimetr Schneider
- multimetr Emos
- multimetr Sonel
- multimetr BaseTech
- multimetr Perel
- multimetr Trotec
- multimetr Velleman
- multimetr Pyle
- multimetr Gossen Metrawatt
- multimetr Fluke
- multimetr Megger
- multimetr Weidmüller
- multimetr BENNING
- multimetr Brandson
- multimetr Metrix
- multimetr Rigol
- multimetr Abus
- multimetr Elro
- multimetr Ferm
- multimetr Hager
- multimetr Testboy
- multimetr Kyoritsu
- multimetr Klein Tools
- multimetr Powerfix
- multimetr Workzone
- multimetr Alecto
- multimetr JUNG
- multimetr Monacor
- multimetr Etekcity
- multimetr Wiha
- multimetr HT Instruments
- multimetr Qian
- multimetr Beha-Amprobe
- multimetr Clas Ohlson
- multimetr Laserliner
- multimetr Proline
- multimetr Ideal
- multimetr Profile
- multimetr Aldi
- multimetr Appa
- multimetr Amprobe
- multimetr Amiko
- multimetr Brennenstuhl
- multimetr Tacklife
- multimetr Somogyi
- multimetr Steren
- multimetr Flir
- multimetr Maxwell
- multimetr Topcraft
- multimetr Altai
- multimetr Plieger
- multimetr Projecta
- multimetr Cablexpert
- multimetr Greenlee
- multimetr Högert
- multimetr Wago
- multimetr REV
- multimetr Bruder Mannesmann
- multimetr Keithley
- multimetr Bearware
- multimetr Metrel
- multimetr Multimetrix
- multimetr Digi-tool
- multimetr Skandia
- multimetr Elma
- multimetr Testec
- multimetr Hubinont
- multimetr Kewtech
- multimetr Strex
- multimetr Mastech
- multimetr MBS
- multimetr MGL Avionics
- multimetr PCE Instruments
- multimetr Micronta
- multimetr CEM
- multimetr Horex
- multimetr Cosinus
- multimetr Kurth Electronic
- multimetr IWH
- multimetr Weltron
- multimetr Sanwa
- multimetr Rohde & Schwarz
- multimetr EEVBlog
- multimetr Kingcraft
- multimetr Caltek
- multimetr Elworks
- multimetr Noyafa
Najnowsze instrukcje dla multimetr
3 Kwietnia 2025
3 Kwietnia 2025
3 Kwietnia 2025
3 Kwietnia 2025
3 Kwietnia 2025
3 Kwietnia 2025
3 Kwietnia 2025
28 Marca 2025
26 Marca 2025
14 Marca 2025